
Our traditional samplers are designed so that you can stretch and frame them yourself using standard-sized frames from your local craft shop.
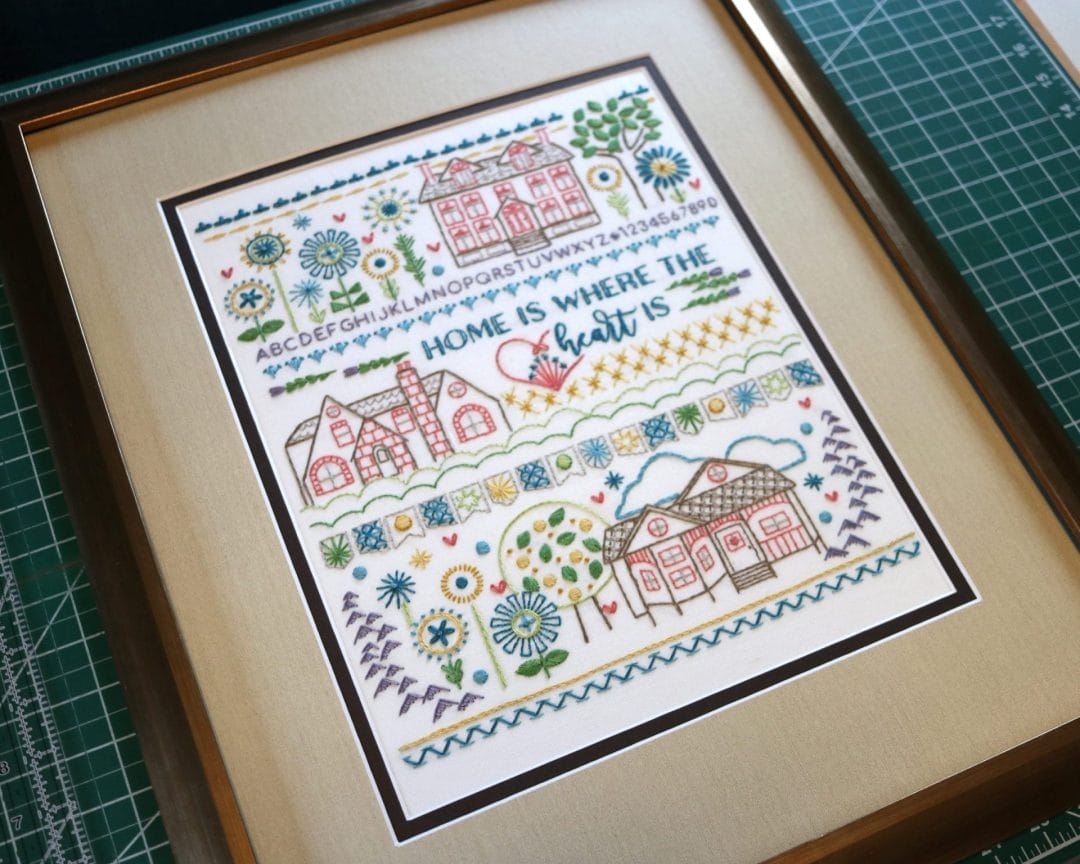
I framed Home Sampler shown below with a 16″x20″ frame from Michael’s (with a buy-one-get-one deal, I purchased two frames for $39). It came with a white mat, and I purchased a different two-layered tan and brown mat for $9.99. Acid-free foam core was purchased in a 12-pack for $22.
.
Steam press your project face-down on a fluffy towel.
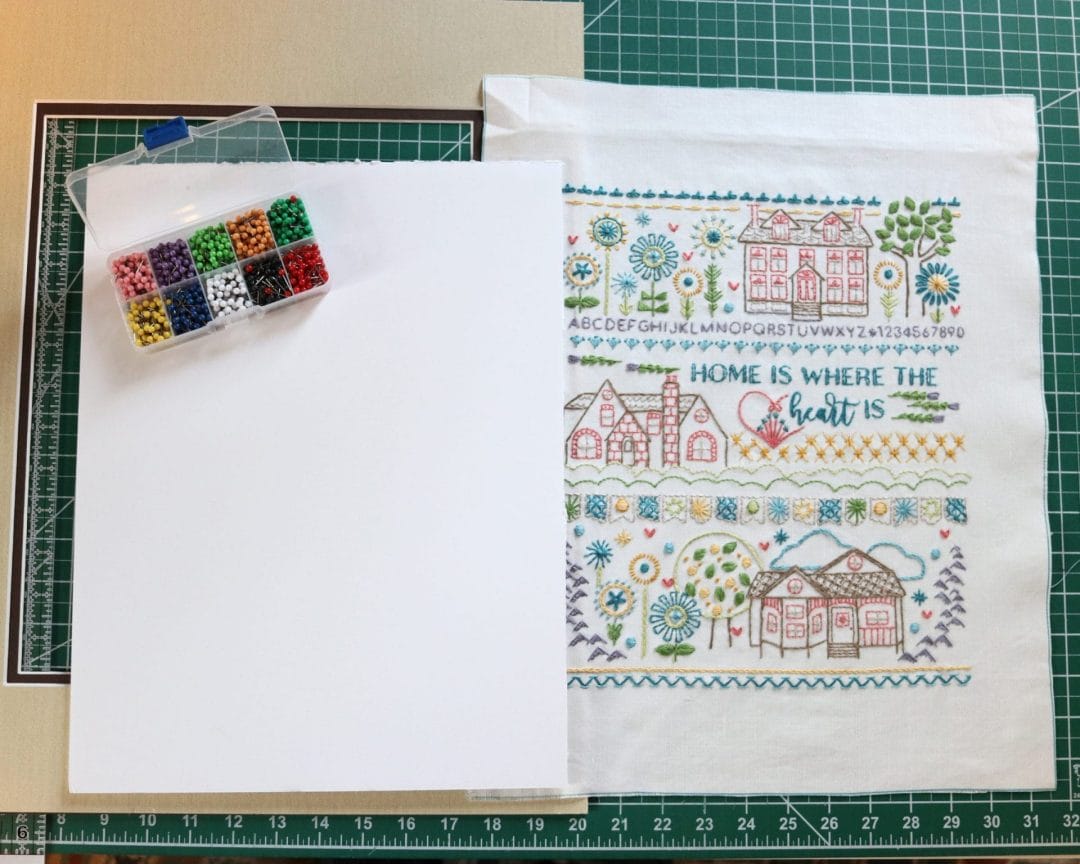
You’ll need:
- frame (16″x20″ or larger)
- mat for frame that will display 11″x14″
- 1/8″ to 3/16″ thick foam core sized 12″ x 16″. Be sure it’s acid-free.
- short map pins. T pins could also work but the short pins are easiest to press all the way in.
NOTES about choosing a frame
The foam core is needed to stretch the project and avoid using tapes.
Off-the-shelf frames don’t always have the depth to accommodate the foam core.
However, I found that because I was cutting the foam core smaller than the frame, there was enough give on the sides to slide the backboard in and secure it nicely. It bent around the foam core on the edges. Of course, another option is to purchase a custom frame.
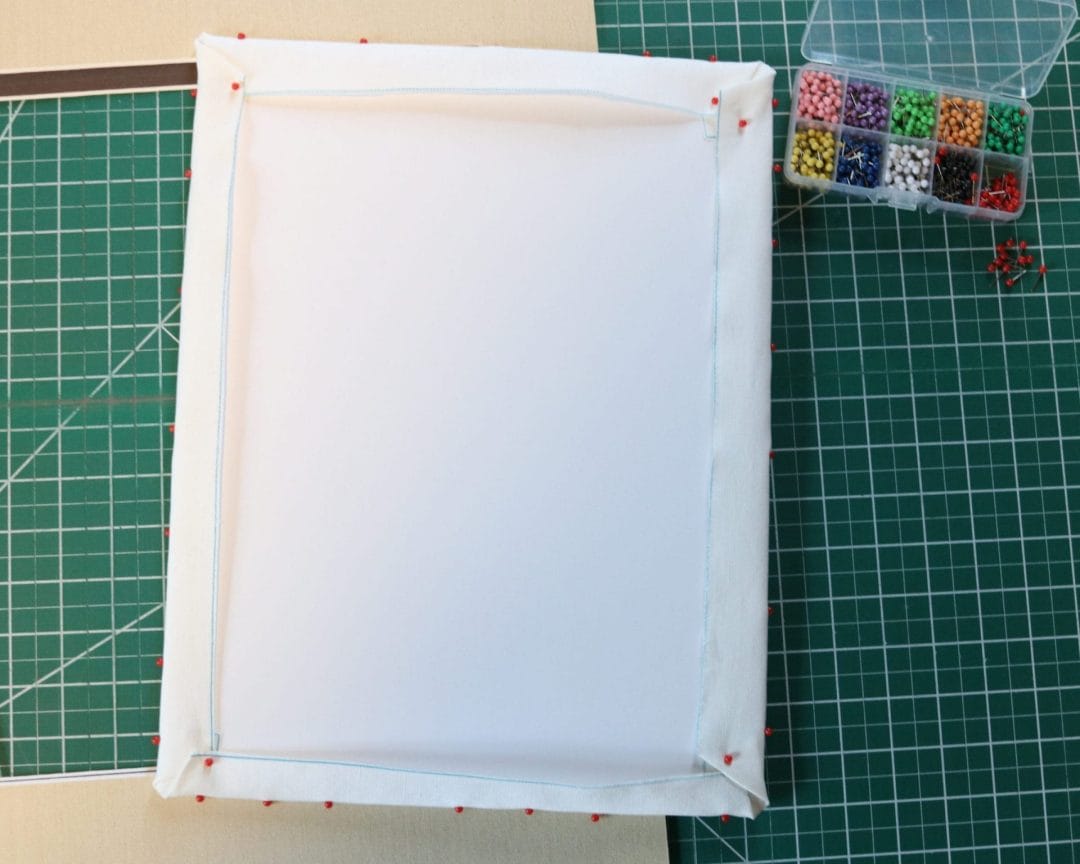
Lay embroidery over foam core to center. Place first positioning pins on each side.
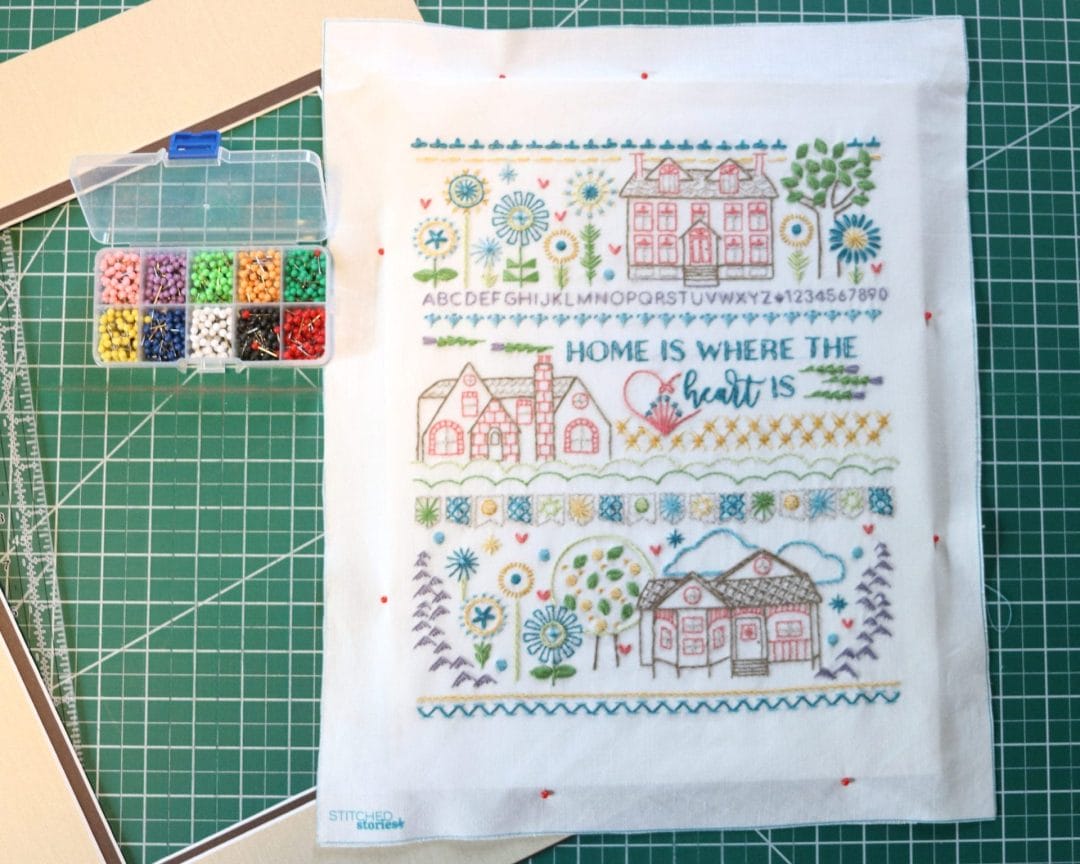
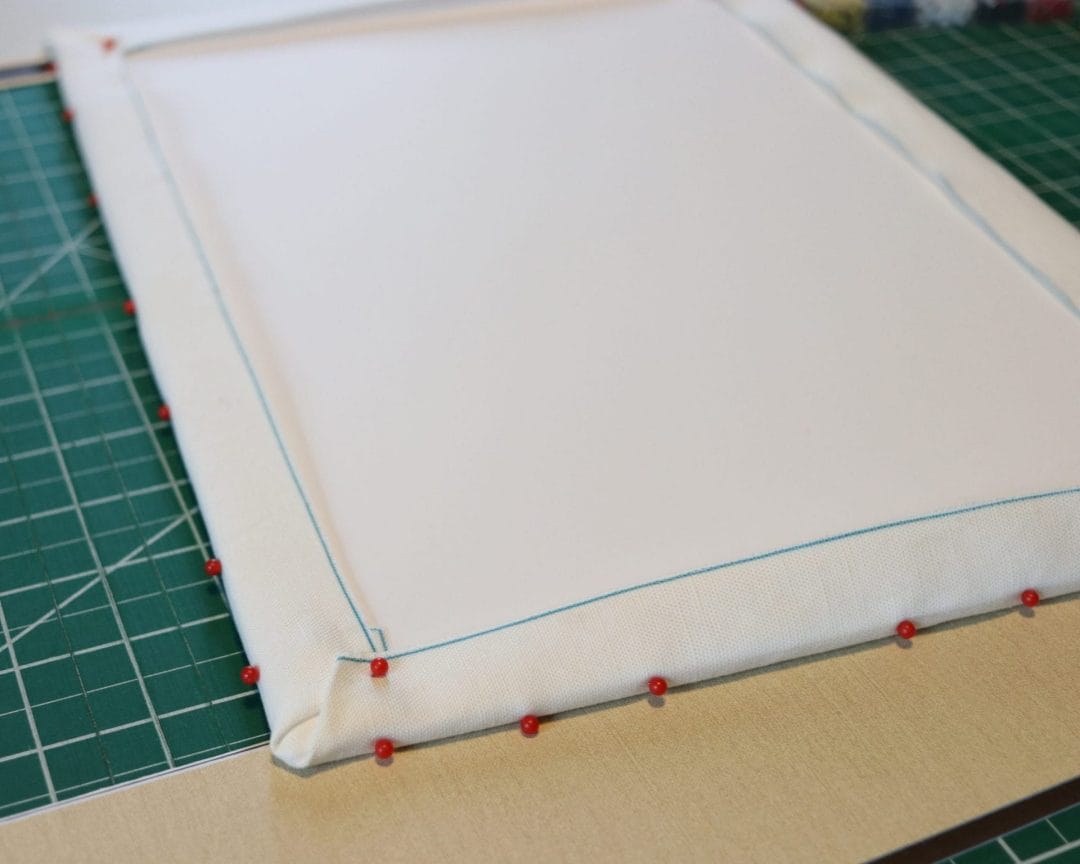
When you’re sure the piece is centered and straight, add pins all around the edges, gently pulling fabric taut to create a smooth and even surface on top. Fold in corners and pin.
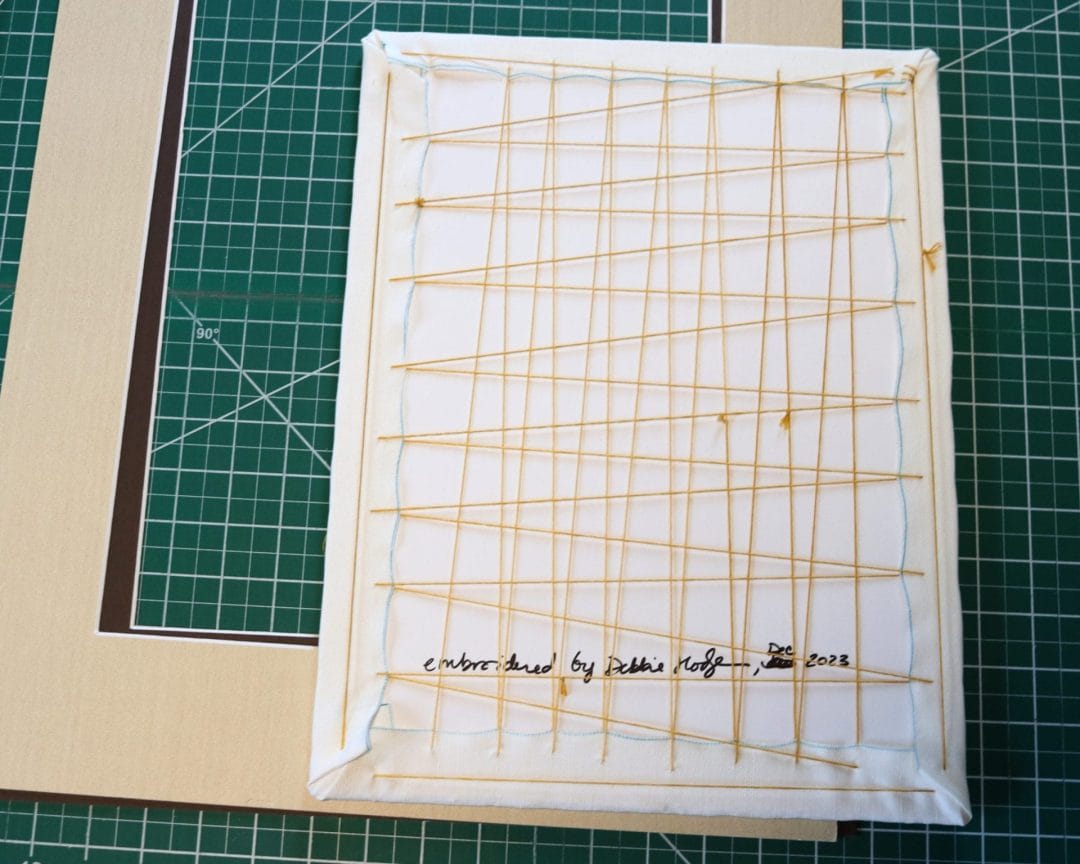
Thread a LONG (36″+) piece of 6-strand floss and tie a big knot. Flip the piece so you’re looking at the back. Starting at bottom left, bring thread up 1/2″ from the edge. Zigzag back and forth from end to end. Spacing between stitches is 1 to 1.5″.
When your thread runs out, cut another thread and use an overhand knot to join the new piece with the previous. In this way, you’ll be using one continuous piece of thread for the lacing.

Continue with the same piece of thread and lace the sides. When they are done, secure each corner.

With the piece laced in place, you can remove the pins.
If you need to reframe in the future, you can cut away the lacing knowing your piece has been well preserved.
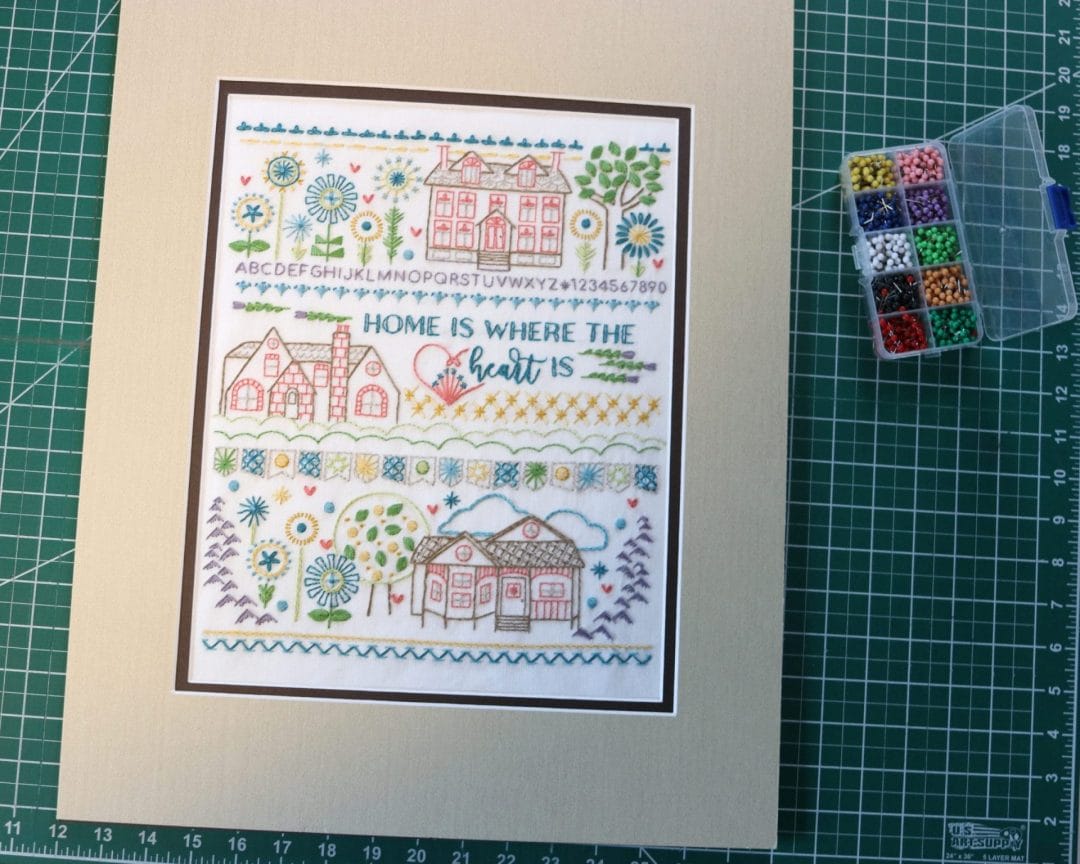
Center and place in frame.
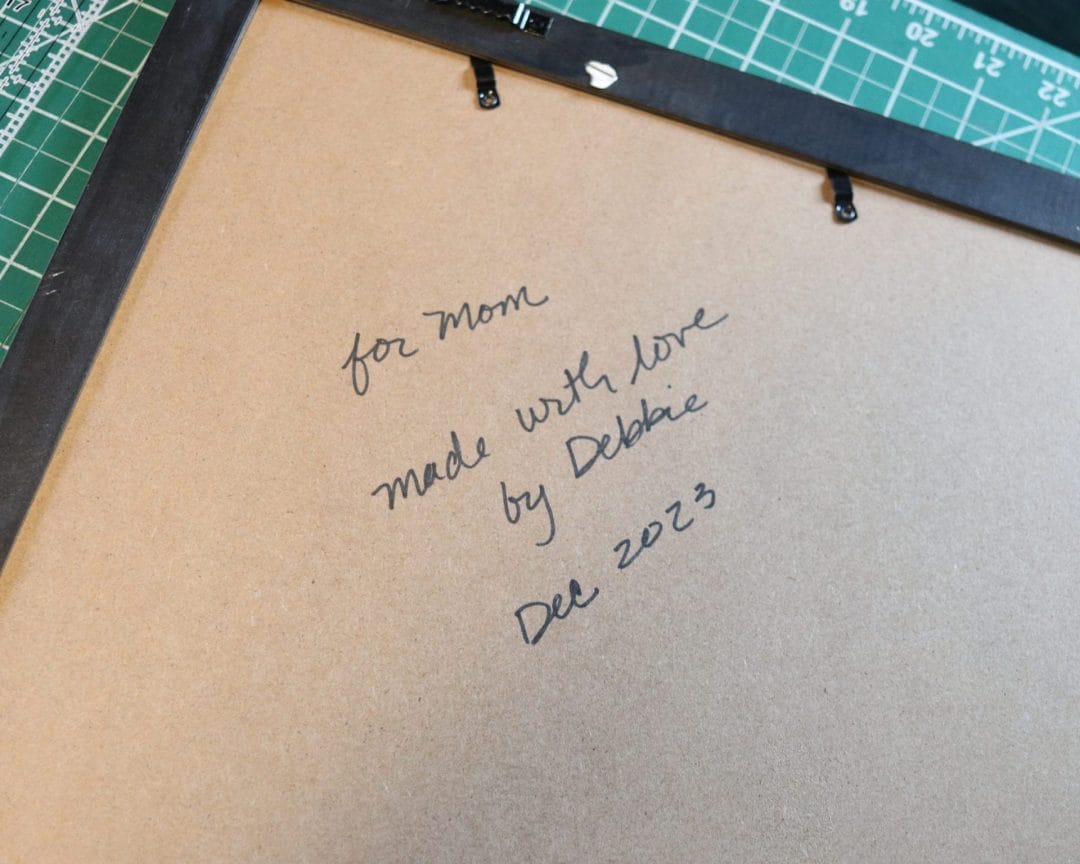
You’ve got an heirloom piece for display in your own home or for gifting. I was surprised by how strongly my mom and brothers reacted when my mom opened this piece. They thought it was wonderful and immediately figured out where it should hang.
If you haven’t already stitched one of our traditional samplers, click here to choose your next project.

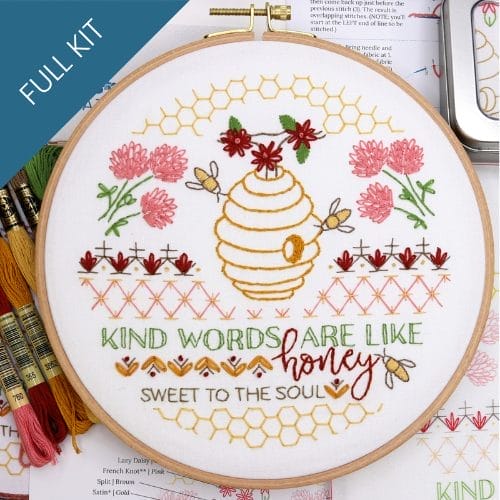
Embroidery that celebrates homey comforts...
Morning coffee, kind words, or slow napping afternoons, take your pick. These best-selling favorites are perfect for a kitchen nook, a thoughtful gift, and cozy handmade touches.