
Our Bunnies Stick & Stitch pattern gives you four bunnies each measuring 4.5″ wide and high. They look great in 6″ or 7″ hoops and they make sweet stuffed ornaments or toys.
Have fun choosing and layering fabrics, finding color combinations you love, and creating your own fluffle of stitched bunnies. (A fluffle is what a group of bunnies is called.)
Here are four variations to jumpstart your creativity.

Choose a fabric and floss colors for the mood you want to set.
Here’s a bunny filled with scrolled vines stitched to tan linen.
Scrolls are in a light green and accenting blossoms are in yellow, organe and pink. Notice the little dot pairs are rendered in a dark blue that’s also used to outline the bunny.
Because the linen had such a loose weave, I put two layers in the hoop and stitched through both. The bunny is 4.5″ and displayed in a 6″ hoop.

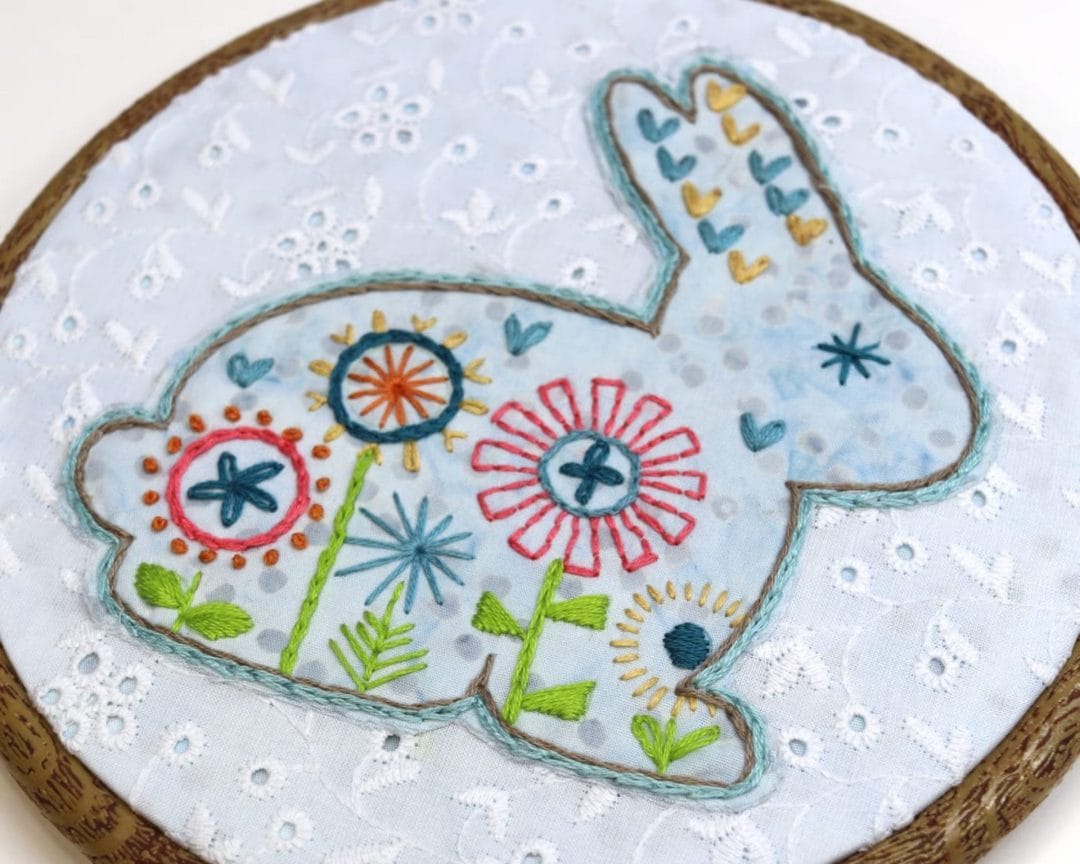
For this bunny, add three layers of fabric to your hoop: a light pattern on top (blue batik shown), eyelet in the middle, and another piece of the light pattern below the eyelet.

Embroider the bunny–including a first brown outline–through all layers.
After you wash away the water soluble pattern and dry the piece, trim away the upper patterned layer of fabric about 1/4″ from bunny outline.
Using a floss color that matches the patterned fabric, chain stitch around the bunny catching and hiding the raw edge of the trimmed fabric.
The result is a bunny on patterned fabric sitting atop pretty eyelet (with subtle pattern showing through the eyelet holes).
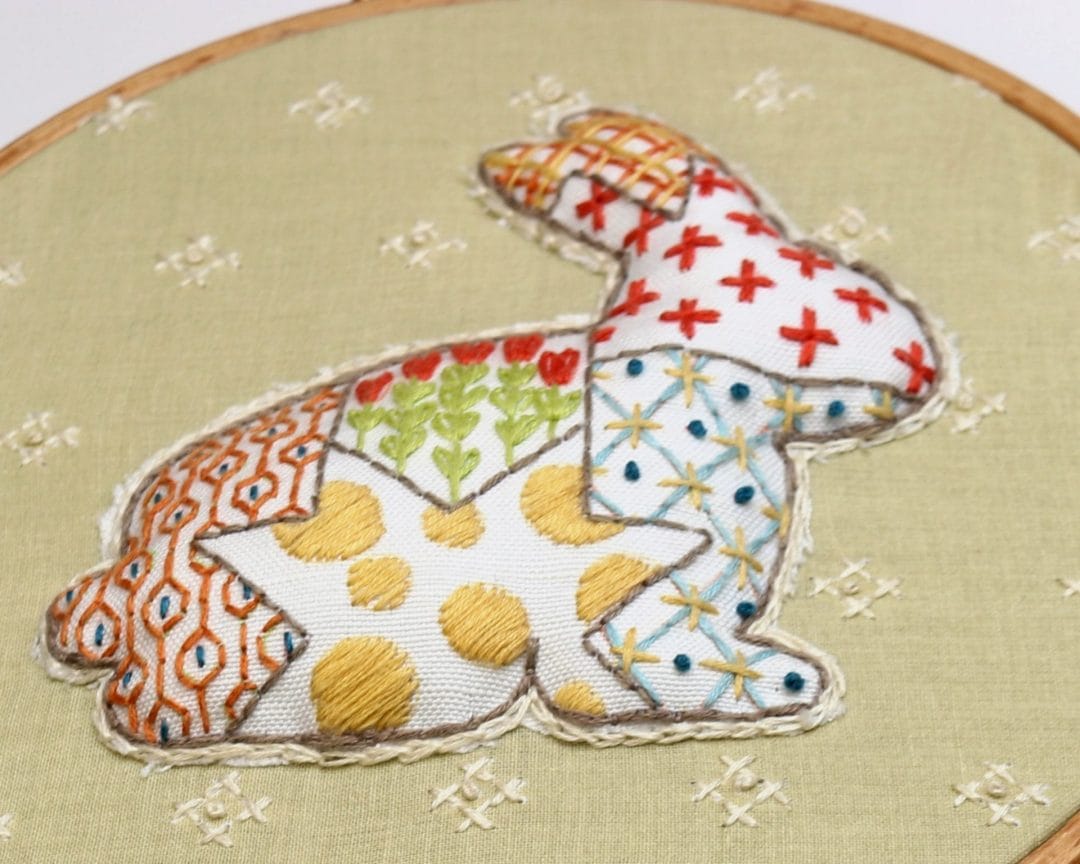
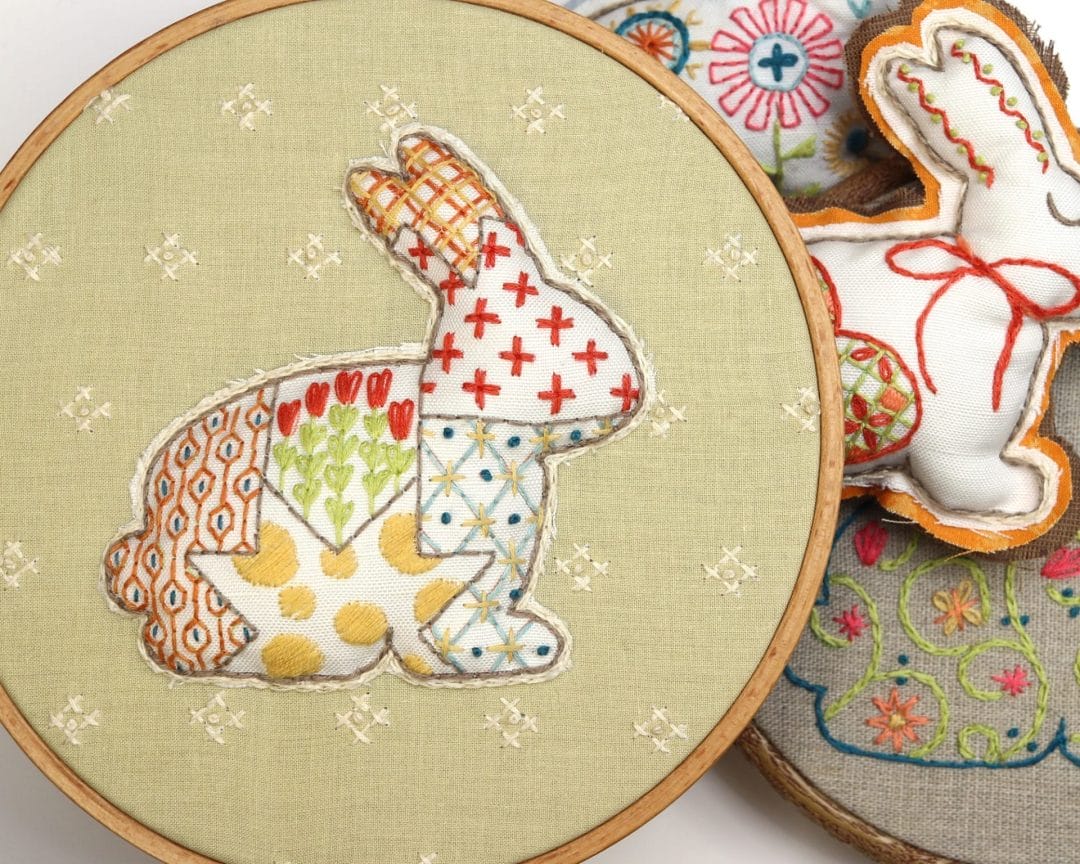
This patchwork bunny was stitched to white linen-canvas, which has a tighter weave than simple linen. The motifs are stitched in coral, orange, yellow, light green, light blue and navy.
Patchwork blocks and bunny are outlined in light brown.
Once the bunny is stitched and water-soluble pattern washed away, trim around the shape leaving about 1/4″ border. Next, pin it to background fabric and use ecru floss to chain stitch around the shape, appliqueing it to the background fabric.
If you want to stuff the appliqued bunny, cut a slit in the background fabric and add stuff to raise the bunny shape. Use fabric tape to seal back.
In this example the background fabric was printed with simple “X” clusters which has been embroidered with ecru.

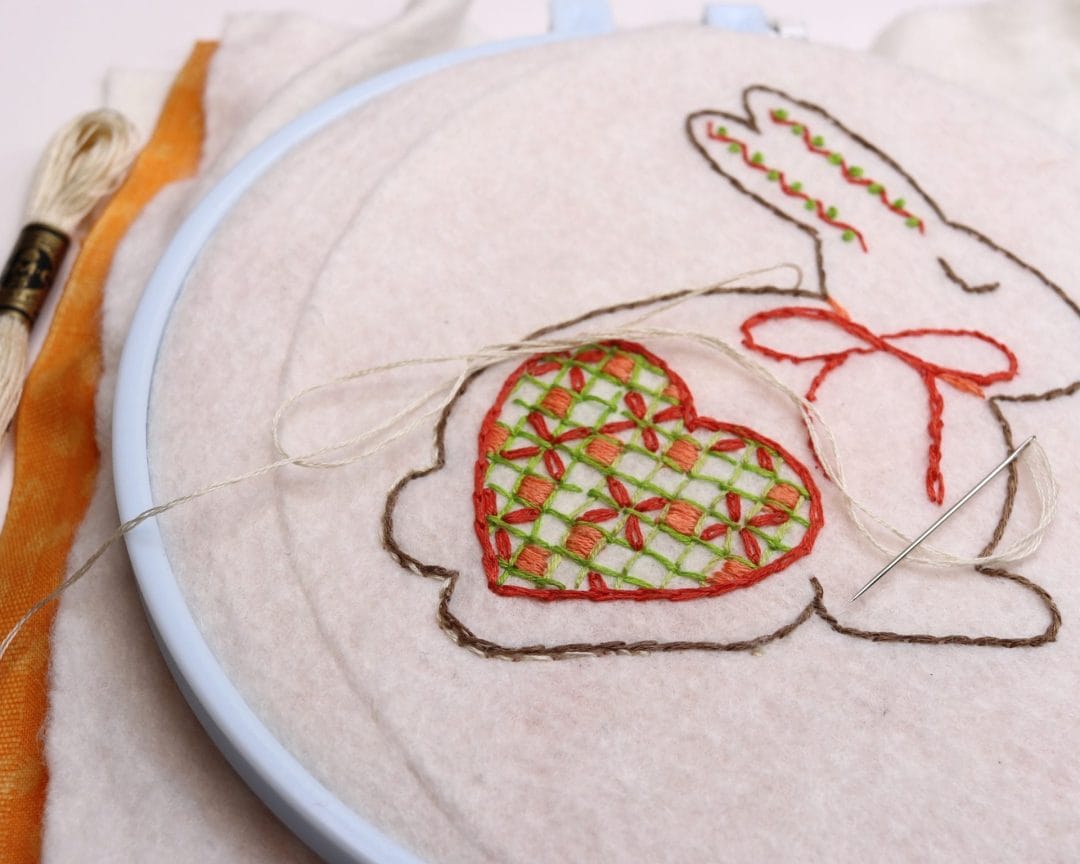
If you’d like to make small stuffed bunnies, choose a top fabric and then one or two bottom layers.
Embroider your bunny, including brown outline, on the first top layer of fabric.
Once you’ve stitched the bunny, put it and two more layers of fabric into a hoop. Stitch around the bunny (except for leaving an opening at the bottom) with back or chain stitch. Use a floss color that matches your fabric (here it’s ecru).
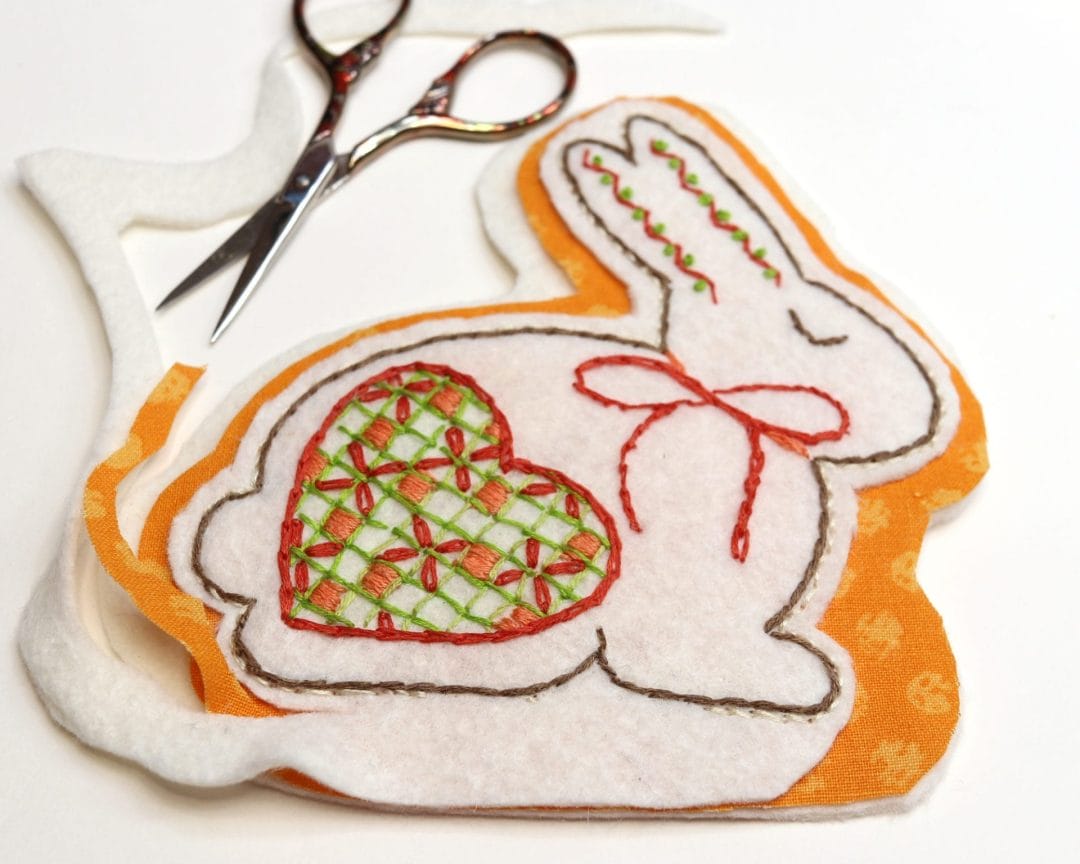
Trim around the whole bunny with a generous 3/4″ border.

Now trim the topmost layer close to your stitching (except near the bottom opening–trim this later). Next trim the middle layer a bit bigger (about 1/4″). Finally trim the bottommost layer just a big bigger than the middle layer.
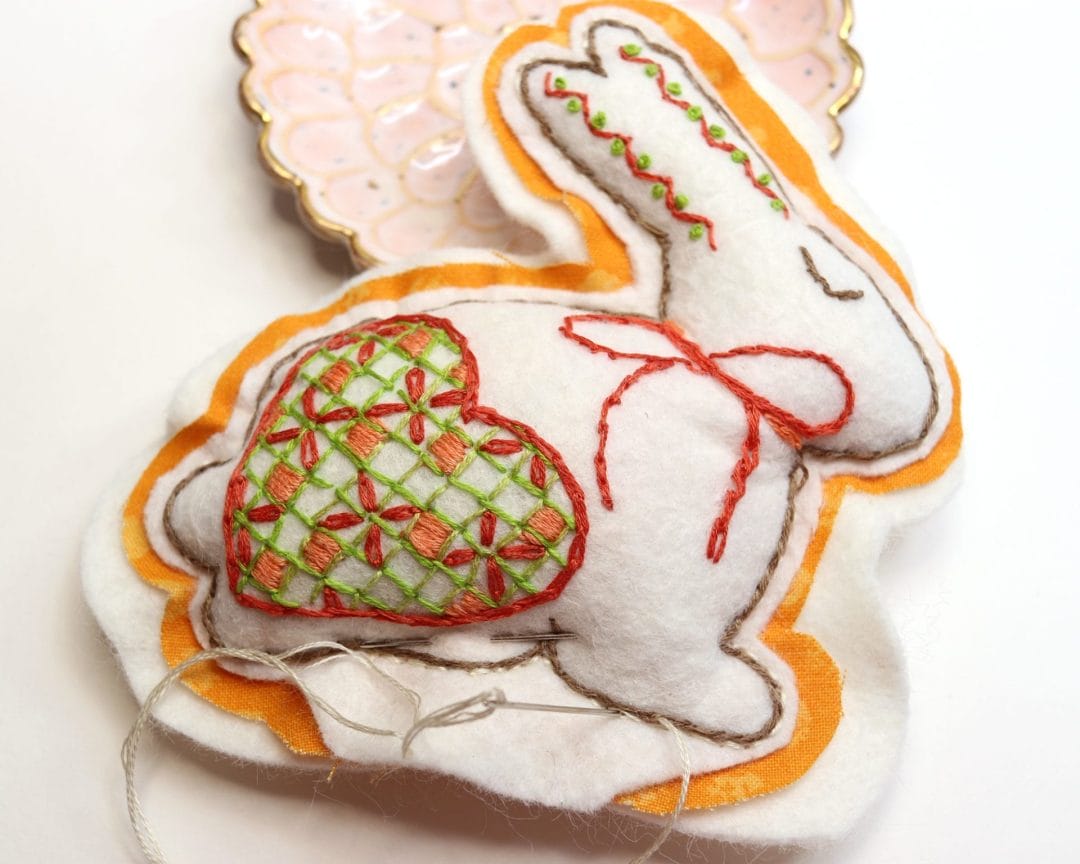
Use the opening at the bottom to add polyfill stuffing between the top layer and the lower two. Fill the ears and head first. Once stuffed, stitch the opening closed and trim layers as above.
If you’d like a vintage look, fray the edges of your fabric.
Which of these four ways to stitch our Bunnies Stick & Stitch patterns will you try first?
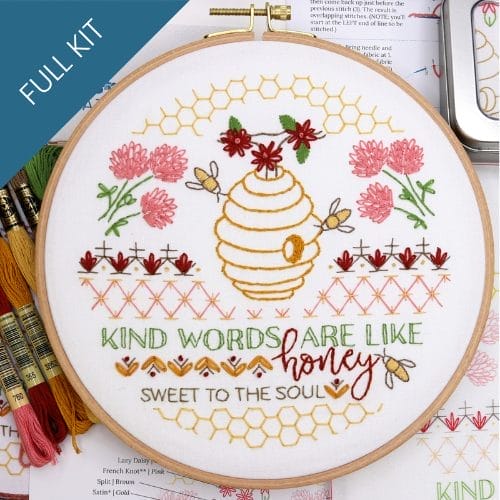
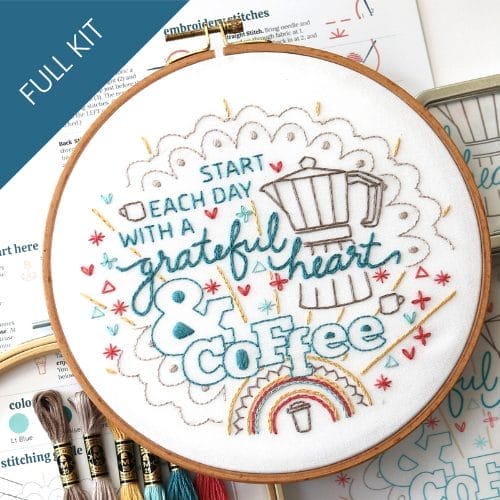
Embroidery that celebrates homey comforts...
Morning coffee, kind words, or slow napping afternoons, take your pick. These best-selling favorites are perfect for a kitchen nook, a thoughtful gift, and cozy handmade touches.