
Once you’ve finished your embroidered hoop art project, you’re ready to display or gift it. Read on for my favorite finishing technique and tips for displaying embroidery in my home.
My preferred finishing technique uses:
- Your completed embroidered design
- Square of white cotton fabric the same size as your project (Stitched Stories projects are on 10.5″ fabric)
- 7″ or 8″ beechwood hoop (we have Frank Edmunds hoops in our shop here)
- Thick white felt to be cut into 3 circles that fit in your hoop back
STEPS:
This short video shows you the exact steps I take to get bright, crisp project presentation in the hoop. Watch for the details that get me a brighter finished hoop (it’s a second layer of fabric) and for the “non-destructive” approach I take so that I could always frame this project differently in the future if I wanted.
THE STEPS:
Step 1. Cut a 10.5″ piece of white cotton fabric to layer behind your project.
Step 2. Choose your hoop size. Trace inside of your hoop onto the felt to create a cutting line. Cut three circles of thick white felt to fit inside the back of the hoop.
Step 3. Layer your finished design over the plain white fabric square. Stretch the two layers together into the finishing hoop and secure tightly. Pull from each diagonal. Pull side to side. Pull top to bottom. Pull out all wrinkles and puckers.
Step 4. Place the three layers of white felt behind your work inside the hoop. Cut a 48″ piece of floss and separate 3 strands. On the back side of your work, stitch all around about 1/2″ from the hoop. As you are stitching around the hoop, gather the fabric.
Keep stitching around again, gathering the fabric and pulling the corners into the center. Tie off.
NOTE: I do not cut the fabric down to a circle. By keeping the full square, it’s easier to remove and wash–and alternative framing possibilities or uses are maintained.
Step 5. OPTIONAL. You might sew one more layer of white felt to the back to cover up the gathered stitching.
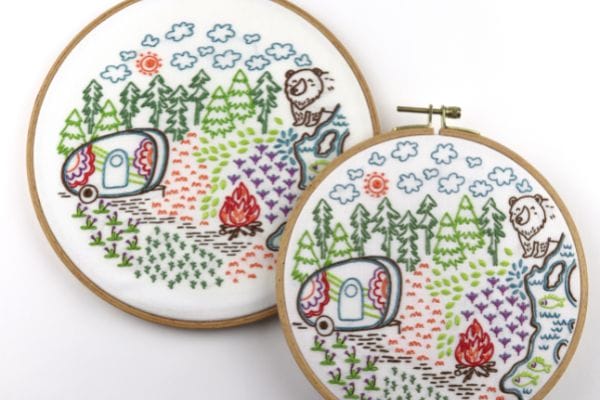
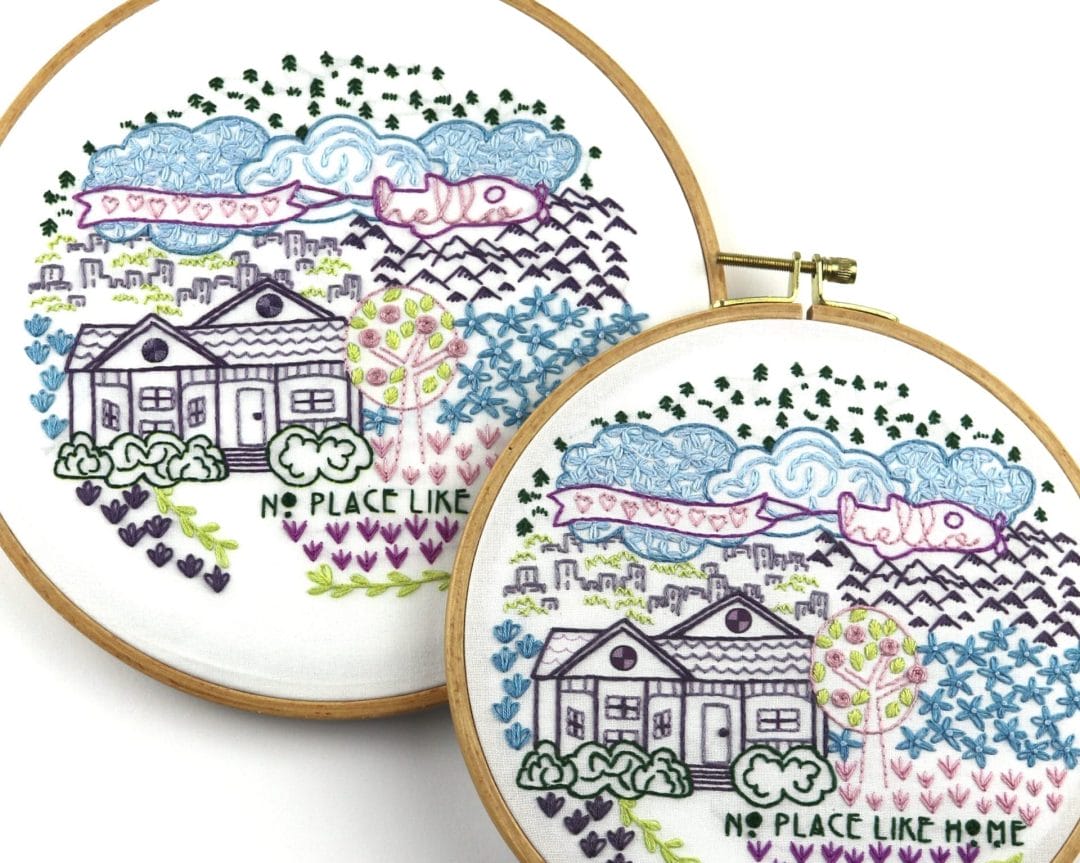
While all of our designs look good in the 8″ hoop, I like to mix in some 7″ framings to give display groupings variety.
Here’s a look at To The Woods in 7″ and 8″ hoops
And here’s No Place Like Home in both sizes.
DISPLAYING YOUR HOOP ART
A standard way to display hoop-art is on the wall.
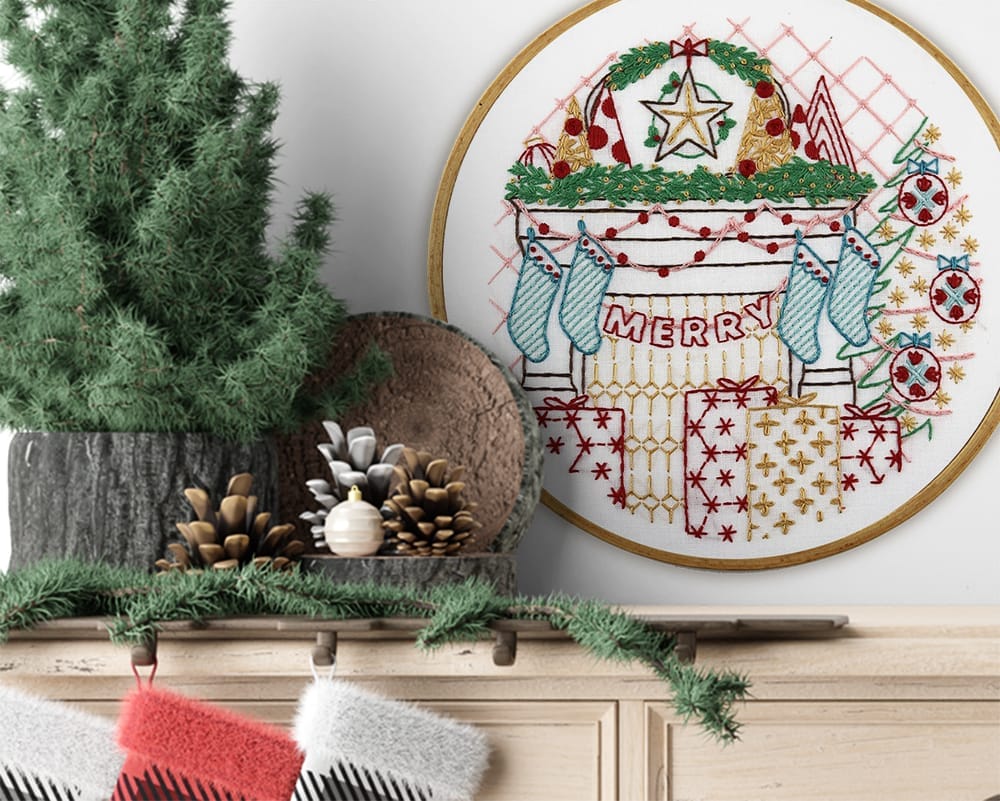
Here’s Christmas Mantle hung on its own, low over a cabinet so that it becomes a part of vignette in combination with display items on that cabinet.
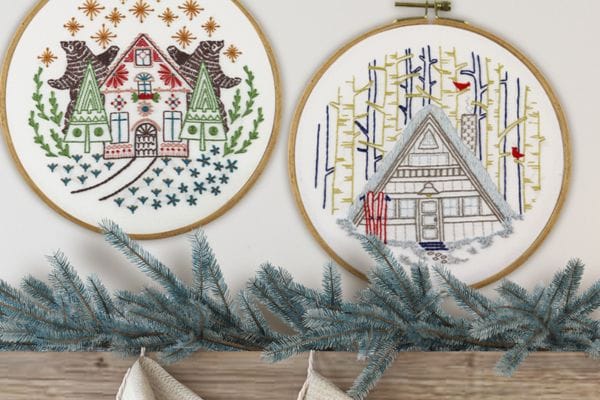
Here are two winter hoops hung together over a Christmas mantle wiht height’s staggered: Ursa Duet and Winter Cabin.
DISPLAYING YOUR HOOP ART
In addition to displaying finished hoops on the walls, I like putting them on a small plate stand or easel and mixing into styled vignettes. (Here’s my favorite display stand.)
I keep finished hoops in my buffet and swap out by season.

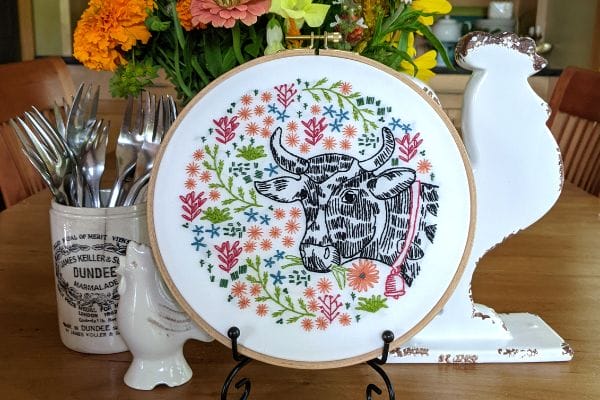
Here’s Bessie’s Blossoms on display in the summer.
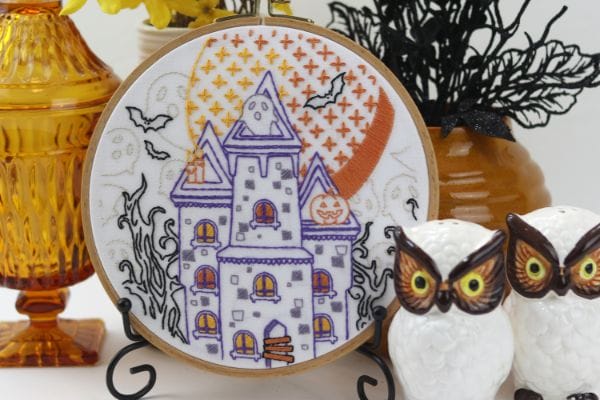
When fall arrives, Spooky House is on display.
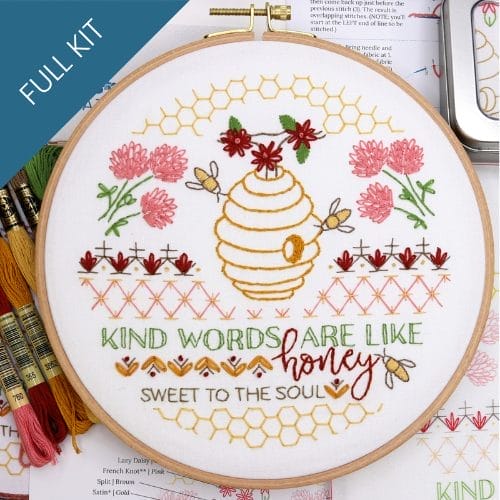
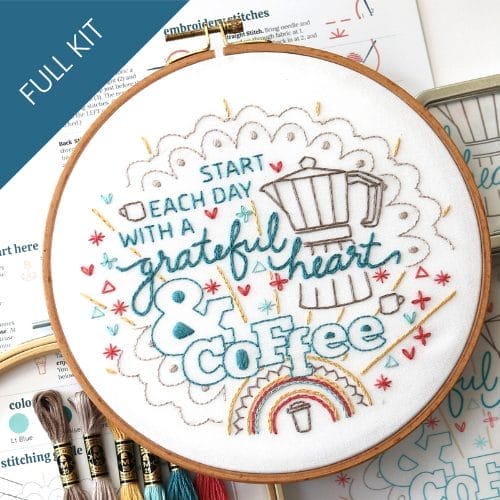
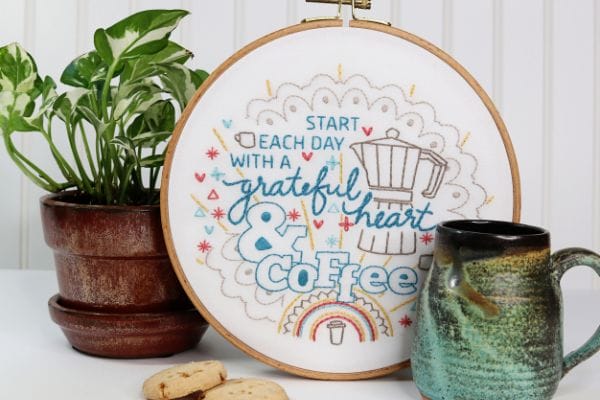
My year-round favorite for display is Start with Coffee.
DISPLAYING YOUR HOOP ART
Stitched Stories customer Sheila made a small throw pillow with her finished Spooky House embroidered project. We love the black pompom trim on it. The fabric square is 10.5″ square so the project is small. You might also put into a quilt. For larger projects, see kits like Bunny Folklore which is ideal for pillows.

Gifting and putting your finished projects on display makes this work all the more satisfying. Click here to choose a kit and get stitching today.
Embroidery that celebrates homey comforts...
Morning coffee, kind words, or slow napping afternoons, take your pick. These best-selling favorites are perfect for a kitchen nook, a thoughtful gift, and cozy handmade touches.