
We love getting emails from you sharing the embroidery stitching tips and approaches many of you have found helpful for your own work.
There are techniques and tools that you’d use differently than I do (and the Royal Academy of Embroidery often backs you up on this).
Embroidery is a craft offering each of us many many opportunities to do it our own way. In that process of doing it our own way we:
::> explore alternate creative options
::> develop our own style
::> make embroidery a craft we love to practice
Below are a few of the tips our community has shared with me.

I hear equally from stitchers who believe we should be supplying a smaller needle (for precision) and from those who want a bigger needle (that they can thread more easily).
Here’s what’s great: you can buy a pack of embroidery needles in a variety of sizes for under $2 and decide exactly which you prefer and stock up on them.
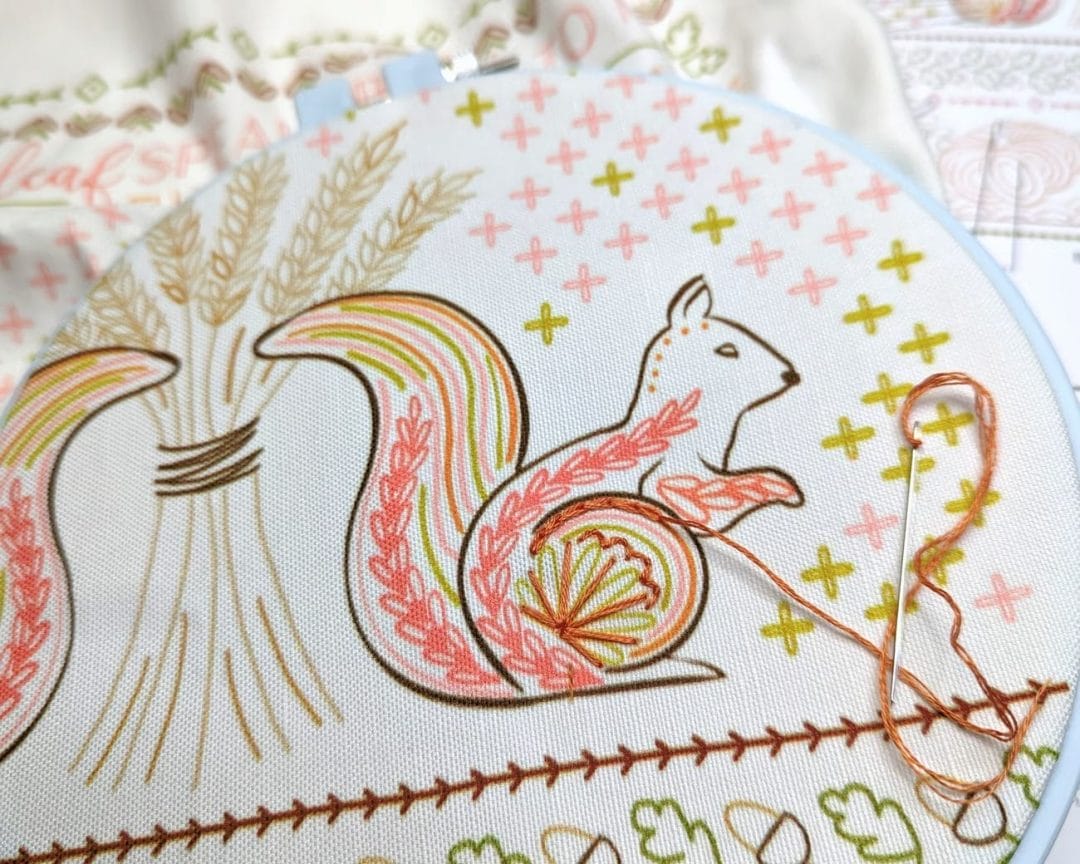
Our in-the-hoop kits usually come with John James size 5 needles.
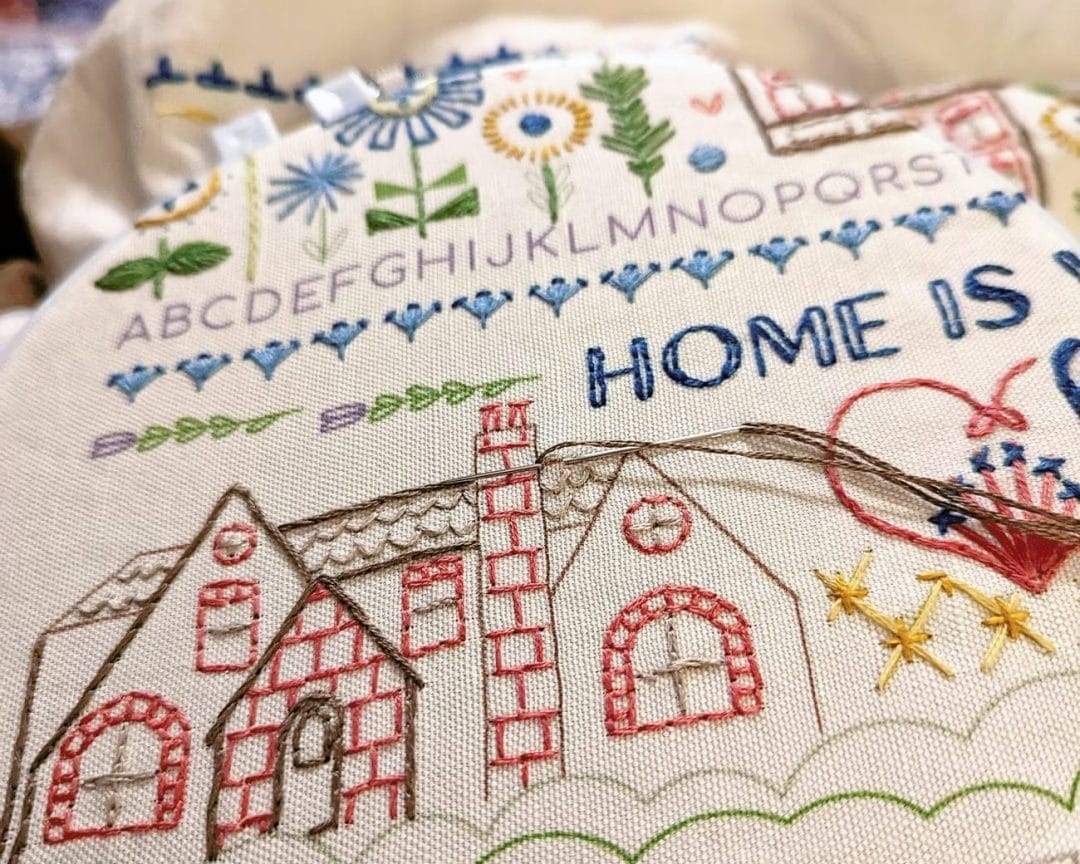
Our linen-canvas traditional samplers usually come with John James size 3 needles.
Your choices connect to two other preferences I’ll talk about below: number of floss strands and precision in stitching.
Personally–I like the #3, and that’s because I’m a more casual stitcher caring less about precision and more about ease and comfort. I still want finished projects I love putting on display–and I do feel I create those . . .
. . . even though I see finished projects from many of you in our reviews sections and shared on Instagram and I can see they are much more precisely stitched than mine. Bravo to all of us finishing and displaying our embroidery.
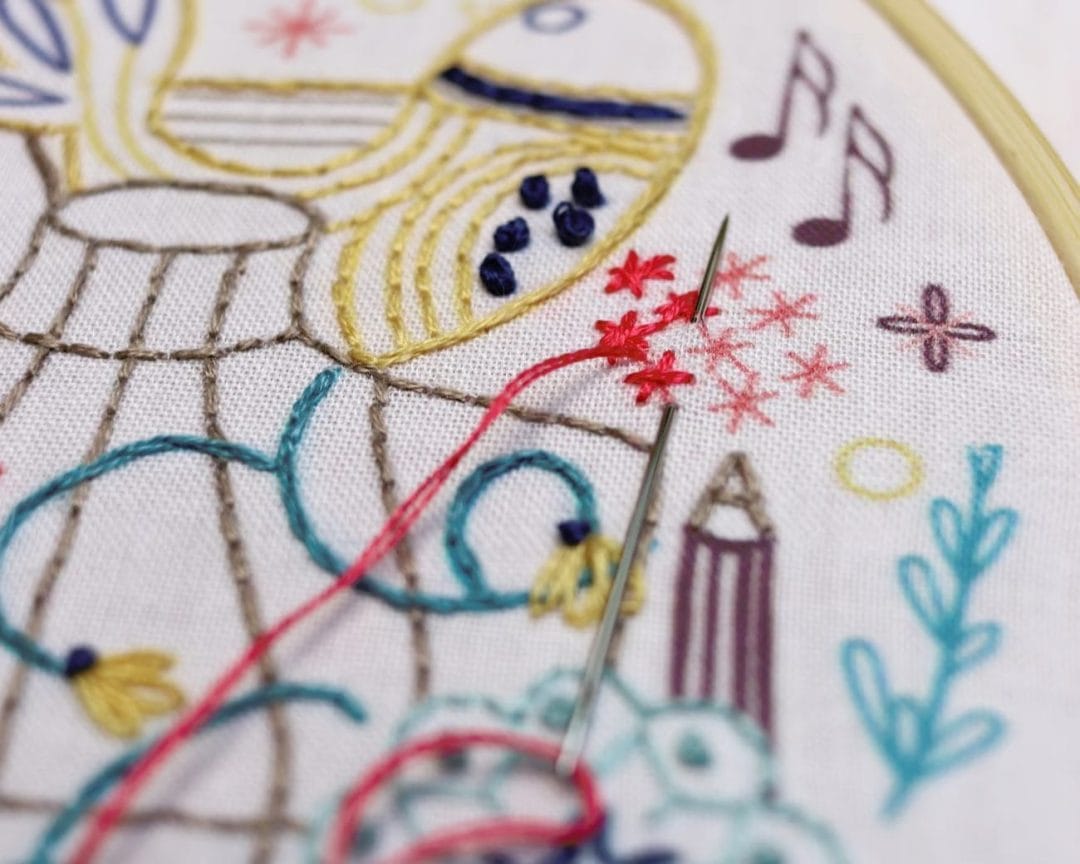
Stitched Stores kits come with full skeins of DMC 6-strand embroidery floss. In the stitching guides accompanying our kits and patterns, we always recommend a base number of strands (2 or 3) and then use * in the diagram for spots where you might use fewer or more strands.
This brings us to two points of contention.
FIRST: How to separate strands. My approach is to tease out two or three strands and slowly pull them apart.
However, those of you in the know (and with precise stitching practices) often recommend this:
Lightly pinch your cut 6-strand thread between 2 fingers and pull strands 1 at a time from it. Once you have the number of strands you want, combine them. Many of you report less twisting and knotting with this technique.
SECOND: How many strands should you actually use? For the most precise stitching, fewer is better, and I hear from folks who always use 2 strands except for satin stitching—where they use JUST ONE strand.
This is contrary to my recommendations where I’m often using three strands for satin stitching. I like a thicker, handmade look, and I appreciate the speed of more strands. You just might like to be more precise, though, and you can do that with fewer strands.
While our kits and patterns come with just one piece of fabric–upon which the pattern is printed–many of you like to layer a second piece of fabric into your hoop with this first piece.
You then stitch through the two pieces.
Adding a second layer makes the piece brighter (because it effectively doubles up your weave).
Adding a second layer means any threads that “travel” are less likely to be seen your finished piece. By “travel” I mean that you might finish stitching a motif in one area and then–instead of weaving your thread into the back and cutting it–you might just start stitching another area farther away. Looking at the back of the piece, you’ll see a long stretch of thread –and sometimes that can show through on the front when the piece is finished.
Get yourself some white cotton fabric and see what you like.
Here’s what I like:
1. I always add that second layer when I finish/frame my in-the-hoop designs. I love love love how it brightens things up. (It’s not needed with our heavier linen-canvas band samplers.)
2. I tried adding that second layer during stitching — but it just slowed my stitching and I didn’t enjoy the feel and the process. Instead, I’m really tidy about starting and ending pieces of floss and weaving them into the work.
This is also related to
::> do you keep your fabric drum-tight in the hoop or a bit looser?
::> do you hold your stitching or mount it in a stand?
With the stab approach, you’ll put your needle down through the fabric and pull it completely through. You’ll then pull it back up through the fabric completely.
With the sew approach, you’ll poke the tip of the needle through the fabric at one point in your stitch and then back up through at another point in your stitch—and THEN you’ll pull it through the fabric.
The stab approach will give you more precise stitching. The sew approach is more efficient.
If you
::> like your work drum-tight in the hoop
::> and if you like to layer a second piece of fabric
::> and if you put your hoop in a stand
the stab approach is your friend—and you’re a precision stitcher
If you
::> embroider in the car (on the porch, beach, poolside)
::> embroider while watching a show with subtitles (Shogun, anyone!?)
::> embroider as much for the experience as the finished project
the sew approach is your friends–and you’re a folksy handmade stitcher.
When you purchase a Stitched Stories kit or pattern, you’ll always get a detailed guide to the stitches and colors with extra tips like these. Click here to view all of our kits.
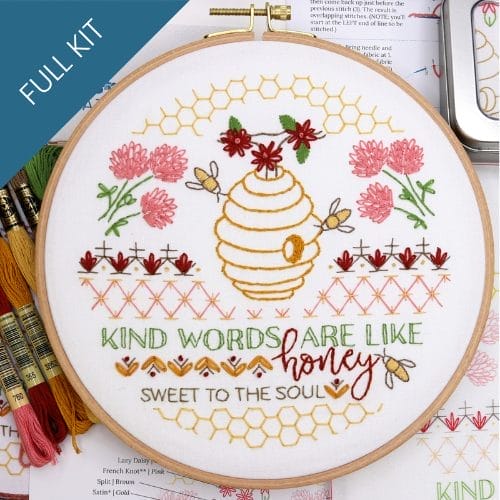
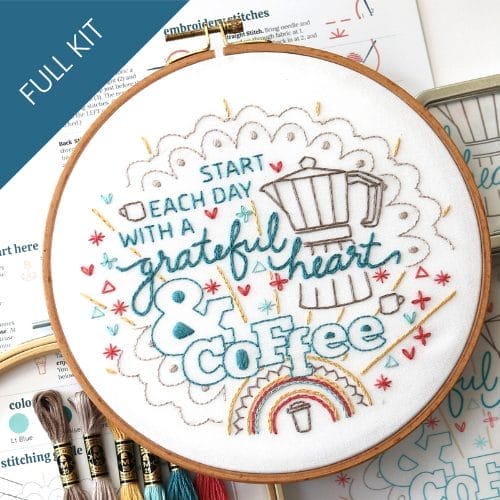
Embroidery that celebrates homey comforts...
Morning coffee, kind words, or slow napping afternoons, take your pick. These best-selling favorites are perfect for a kitchen nook, a thoughtful gift, and cozy handmade touches.