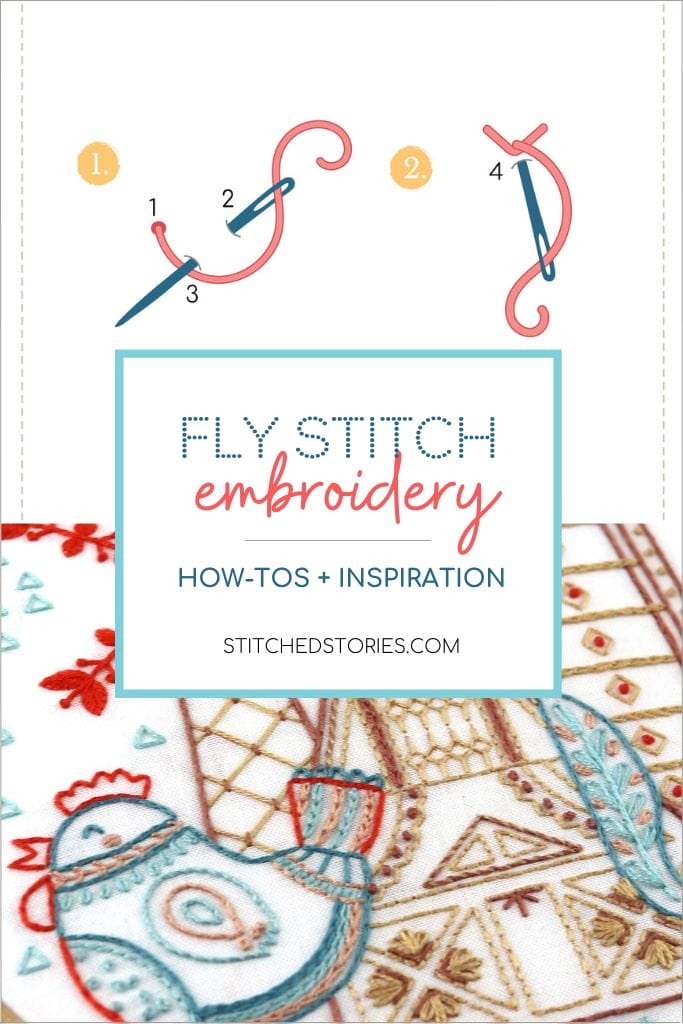
The fly stitch is a versatile and handy one that I use over and over again. You can vary how tightly you pull the main stitch as well as the length of the anchor stitch for a variety of looks.
Here’s a diagram and the instructions for creating it that we include in all of our embroidery pattern and kit guides.
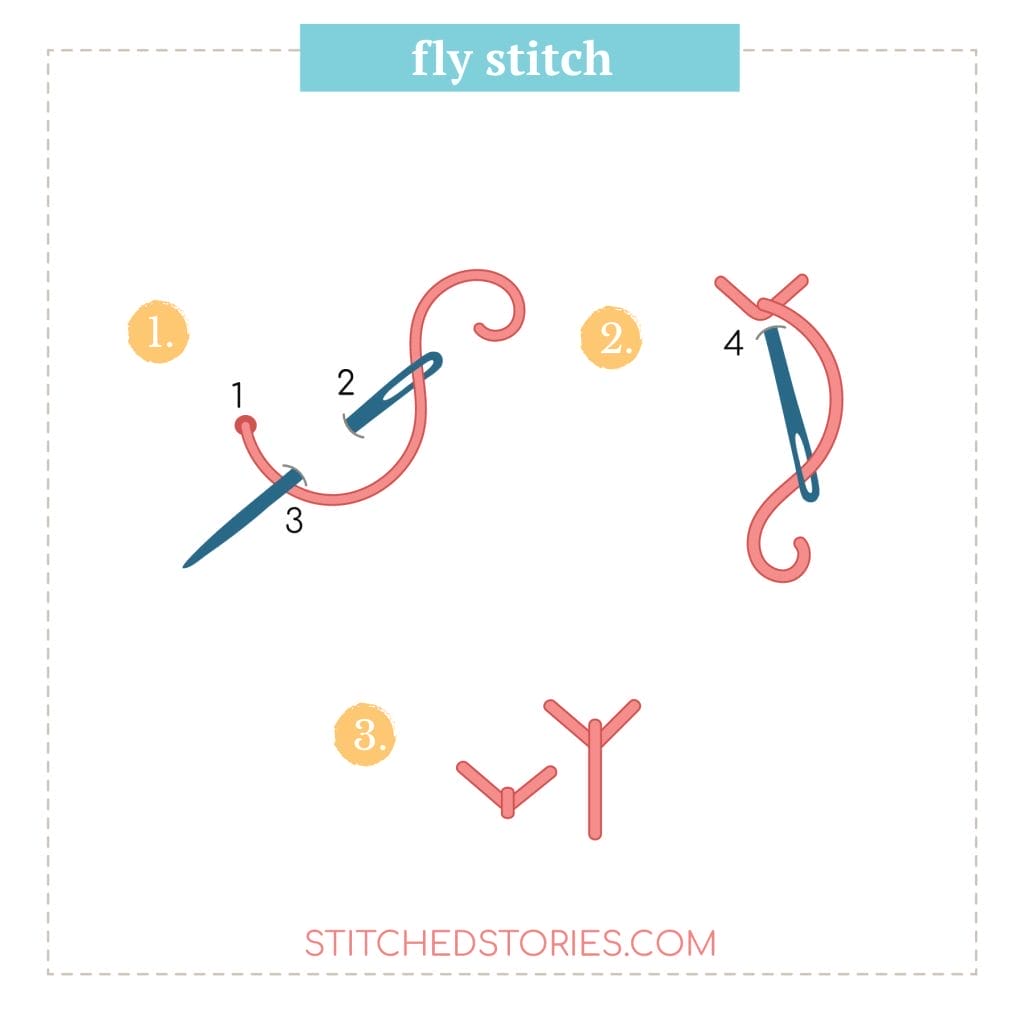
- Bring needle and thread up at 1.
- Insert to the side at 2 and back up at 3.
- As you do this, loop working thread under needle at 3.
- Pull the thread all the way through and pull snugly to create a “V”.
- Insert needle back down very close to 3 to secure.
- Taut, deep stitches will look like a “V” and looser, shorter stitches like scallops.
See 6 of my favorite fly stitch uses below.
1. Make single “U”, “V”and “Y” shapes with the fly stitch
The “U” is created with a loose stitch and a short anchor.
The “V” is created with a tight stitch and short anchor.
The “Y” is created with a tight stitch and a long anchor.
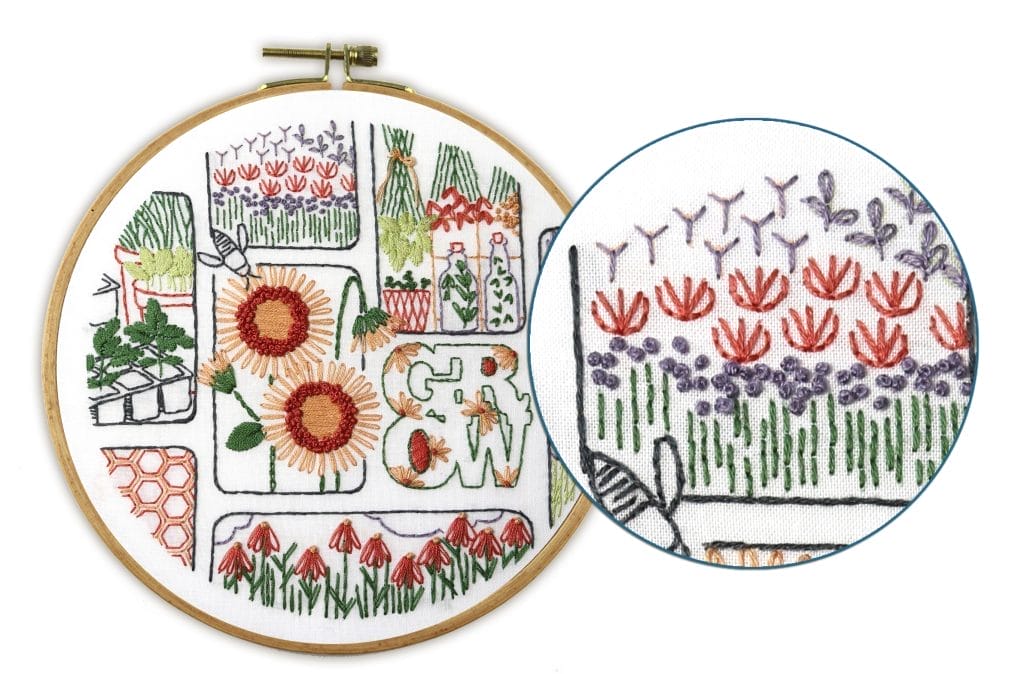
See the “Y” as little flowers in Grow.
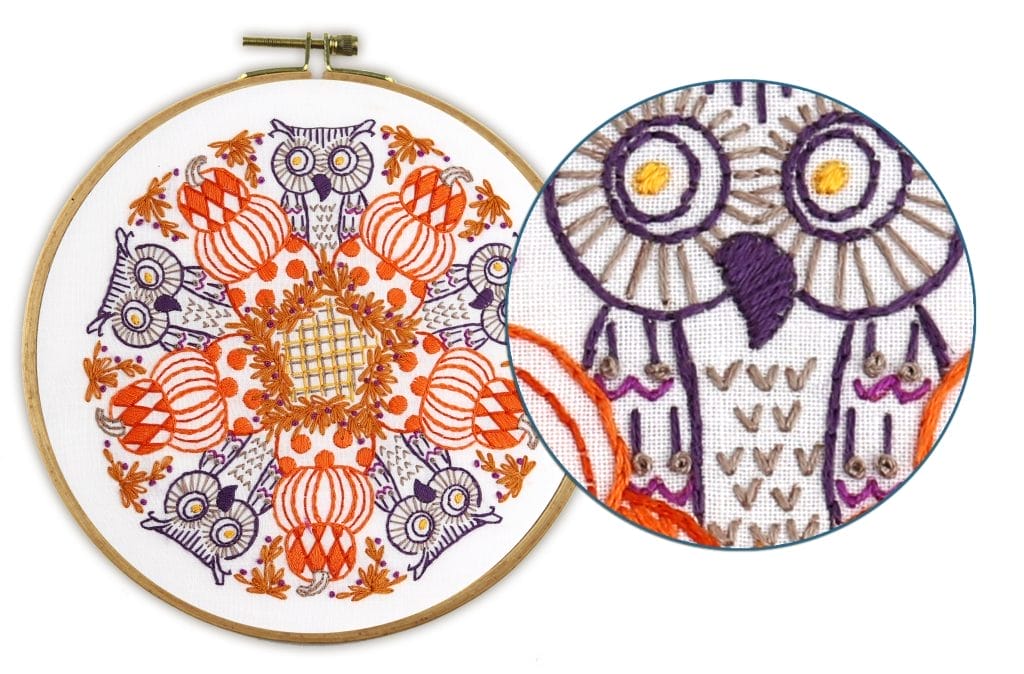
In Pumpkins and Owls, see “U” shapes on the wings and “V” shapes on the breast of the owl.
2. Created scalloped edging with the fly stitch
See a straight line of scallops below roof peaks on Spooky House.
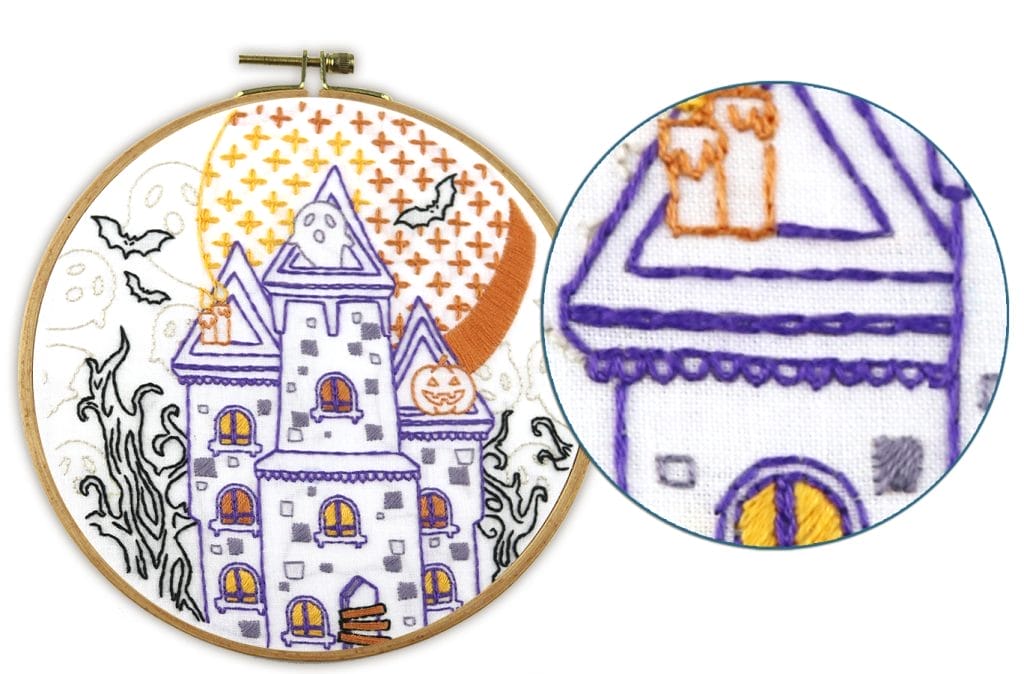
See a curved scalloped edge (like a doily) around Tea Party.

3. Make a circle of “Y” shapes
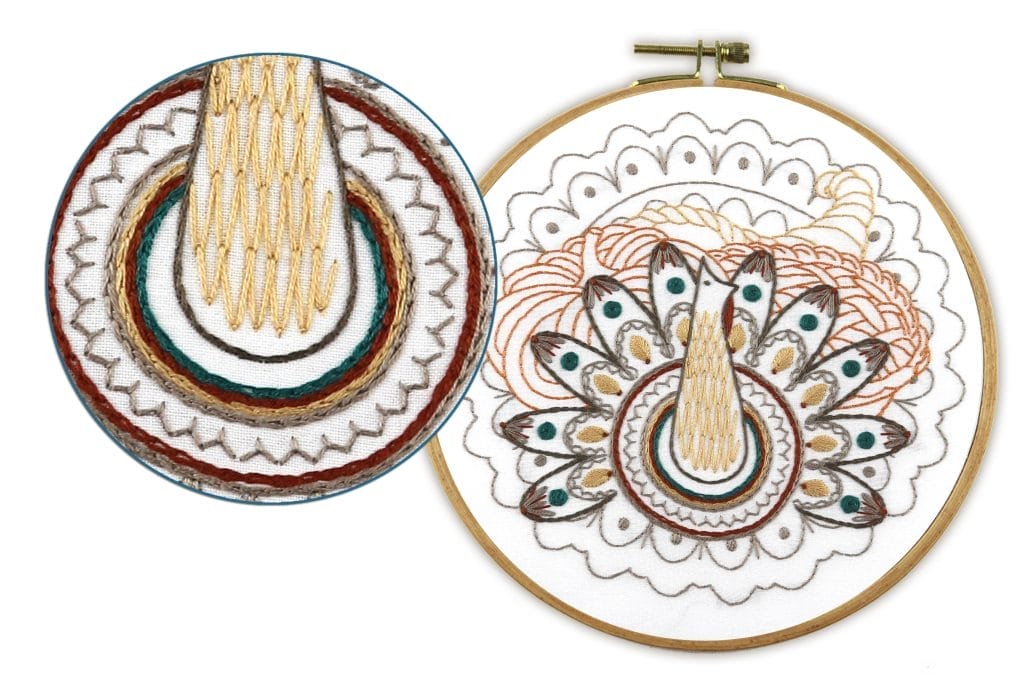
See a full circle at the center of the turkey on Harvest Table.
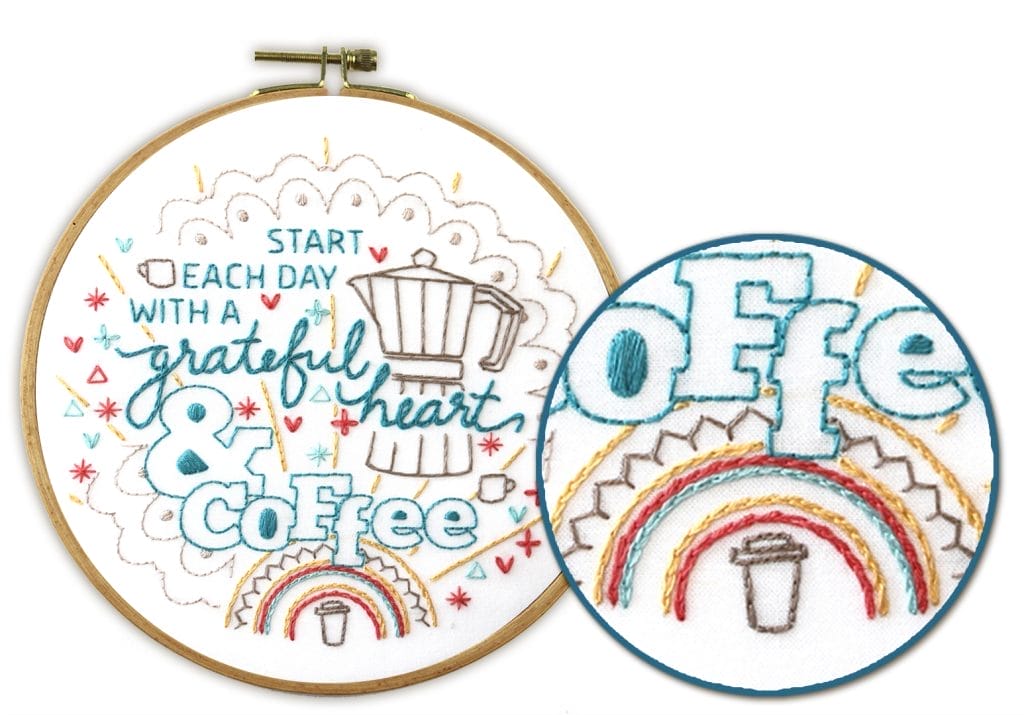
See a half circle at the bottom of Start with Coffee.
4. Fill a space with fly-stitched grid
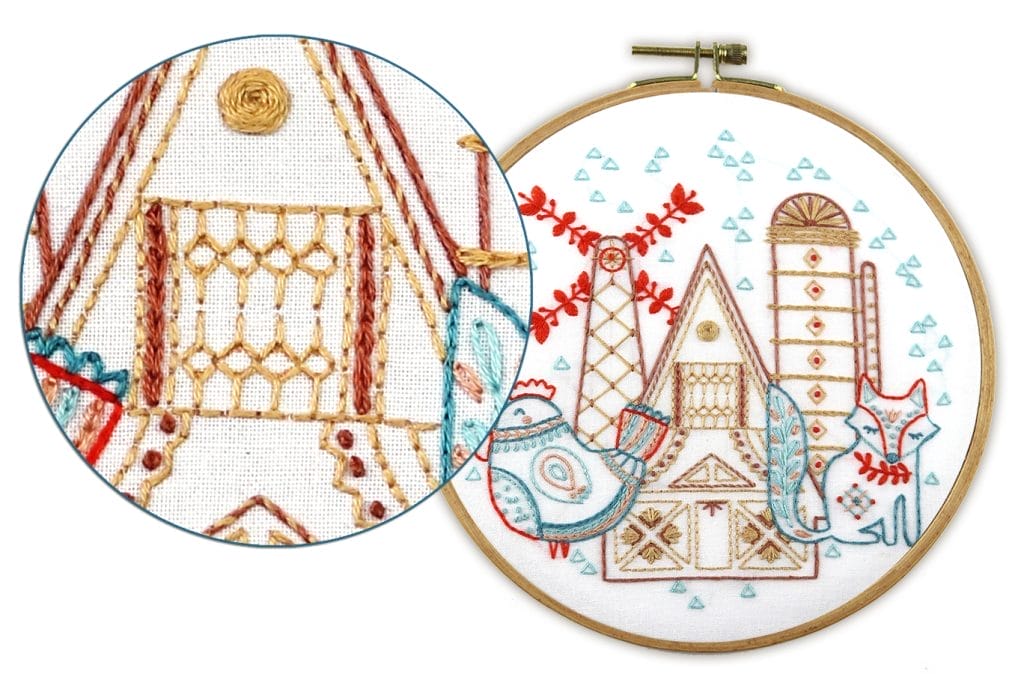
TSee the barn shutters filled with a fly-stitched grid on Hen & Fox.
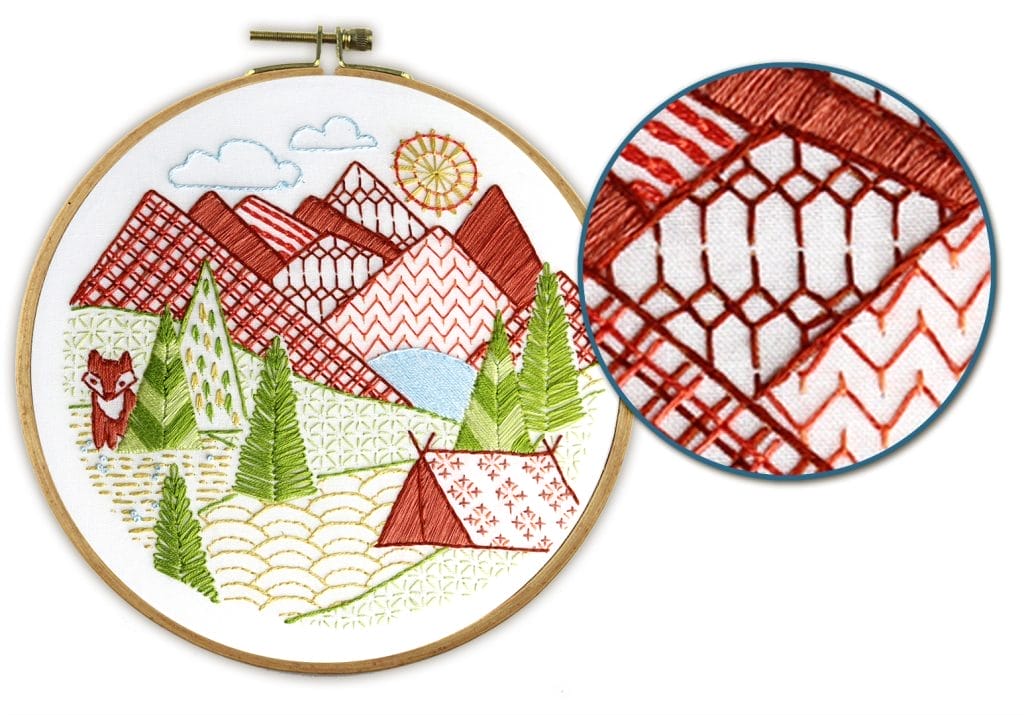
See a mountain filled with such a grid on Mountain Time.
5. Embroider a line of nested fly stitches
The borders between Patchwork blocks are embroidered with navy-blue fly stitches.

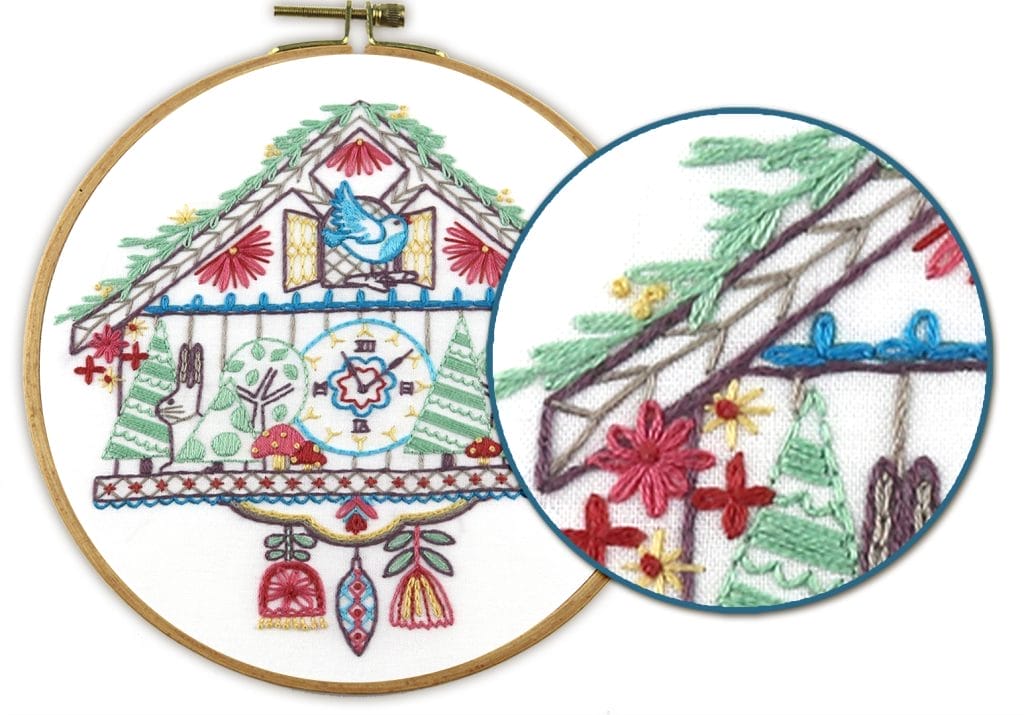
The eaves on Cuckoo Clock are rendered with larger fly stitches.
6. Render the small curves in an outlined shape
Fly stitches are great for fussy little curves. I usually combine these fly stitches with the split stitch for the longer lines of an outlined curvy shape.
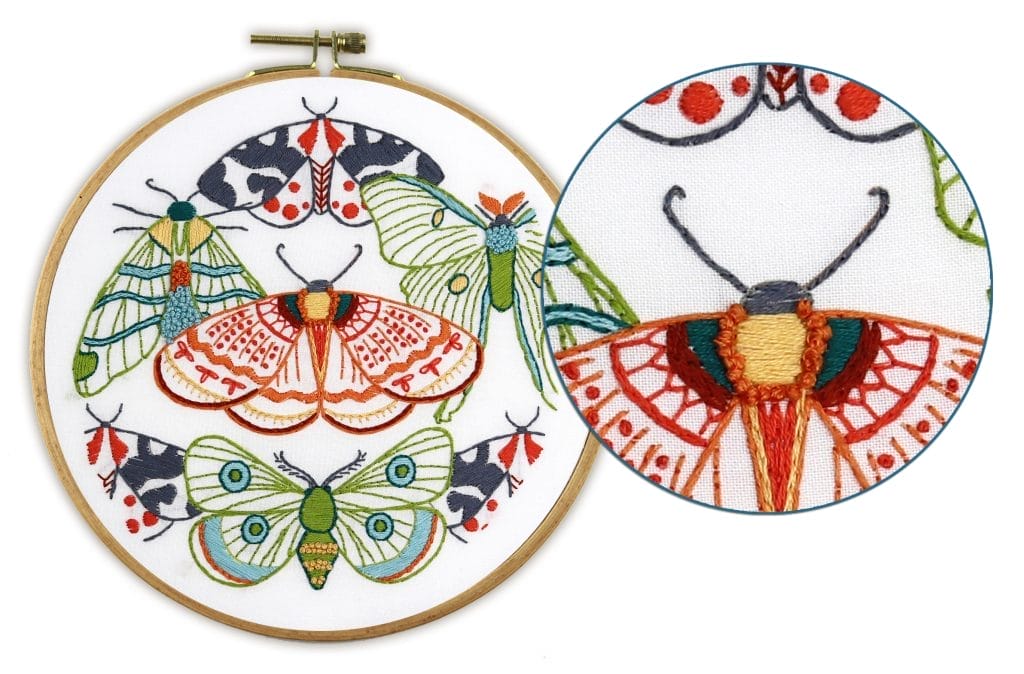
The tips of the Moth’s antennae are fly stitched (while the longer straight line is done with split stitch).
On To the Woods, the tight curves of the bear’s ears, fur, and feet are fly stitched. Again, the longer lines are done in split stitch.
The tips of the pine trees are also rendered with fly stitches.

Embrace the fly stitch AND your crafty side with a Stitched Stories project.
Our patterns are designed to incorporate a variety of stitches–so that you have projects that engage you and make your embroidery work a mindful and satisfying activity. Click here to choose your next project.
Christmas in July is here...
...and so is the opportunity to plan and get started on projects you’ll display and gift a few months from now.
