
As the Christmas holiday nears, it’s time for a crafting weekend. Embroidered ornaments are an ideal project–and can even be a way to create new stitchers in your life.
Here are all the details on what you need to make and finish off these decorations.
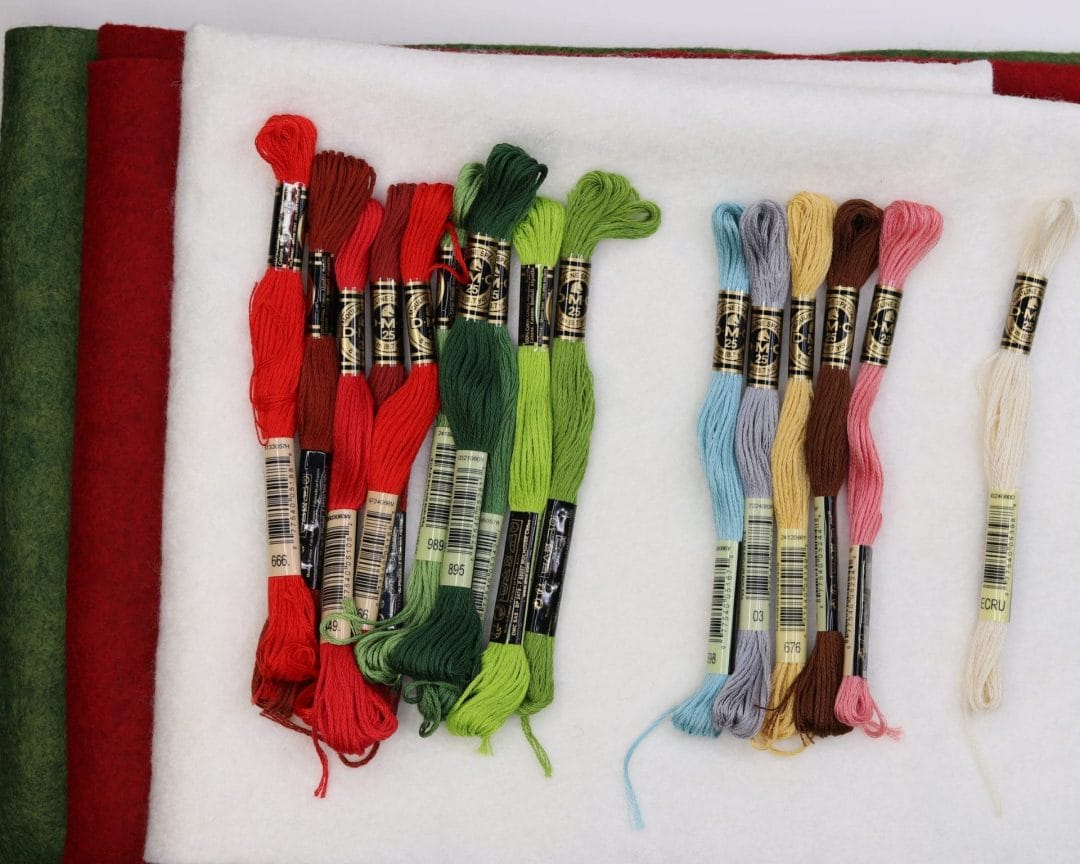
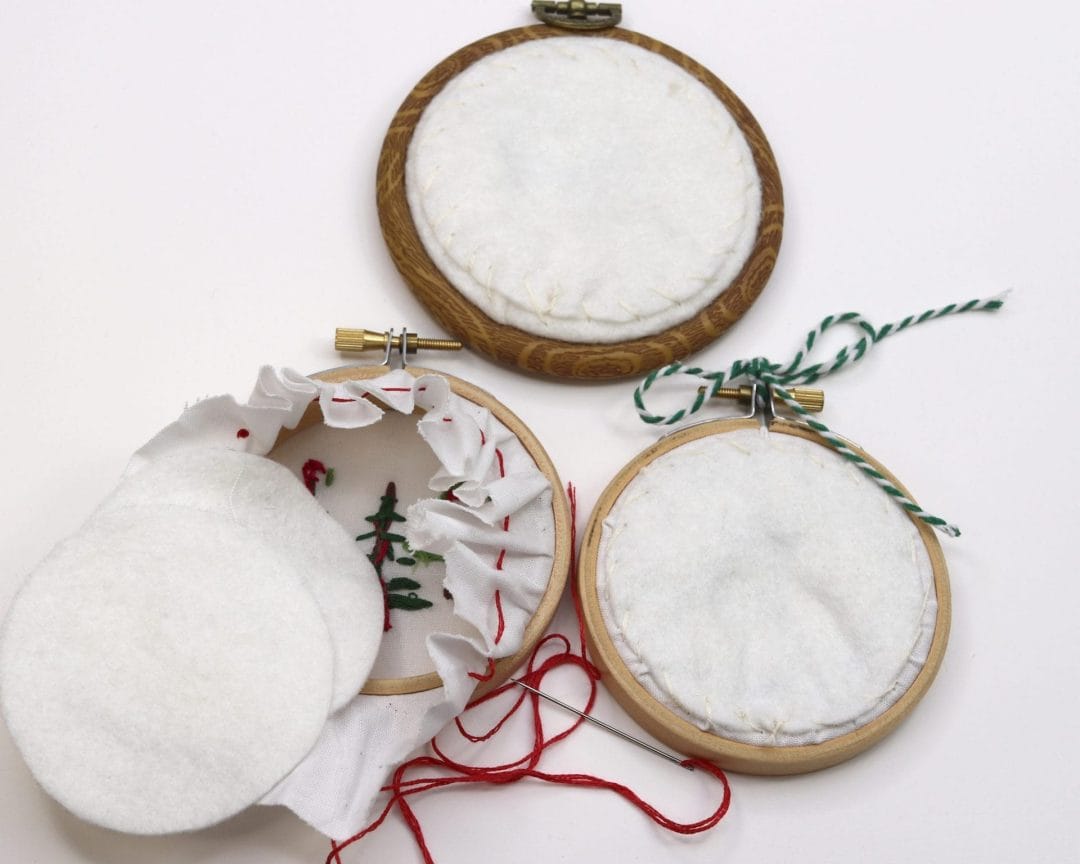
For small in-the-hoop ornaments, use quilting cotton. I like white because red and green floss pop so nicely against it. See the fabric on the left in this image.

For felt ornaments, use a wool blend felt sold by the yard at fabric shops including JoAnns. I like to stitch on white felt then use red and green for layering and backing the ornaments (show on the right in photo above).
DMC 6-strand embroidery floss is a great choice for this project. Start by gathering reds and greens from your stash. Choose a few accent colors, and make sure you’ve got a skein or two of white/ecru floss.
I like stitching with 3 or 4 strands of floss and using a size 3 embroidery needle (John James brand are my favorite).
You can layer up felt ornaments (and even stuff them) and have a finished piece that will hang nicely on a tree.
Another option is to frame the finished piece with small hoops that you can find in your local craft store or online shops.

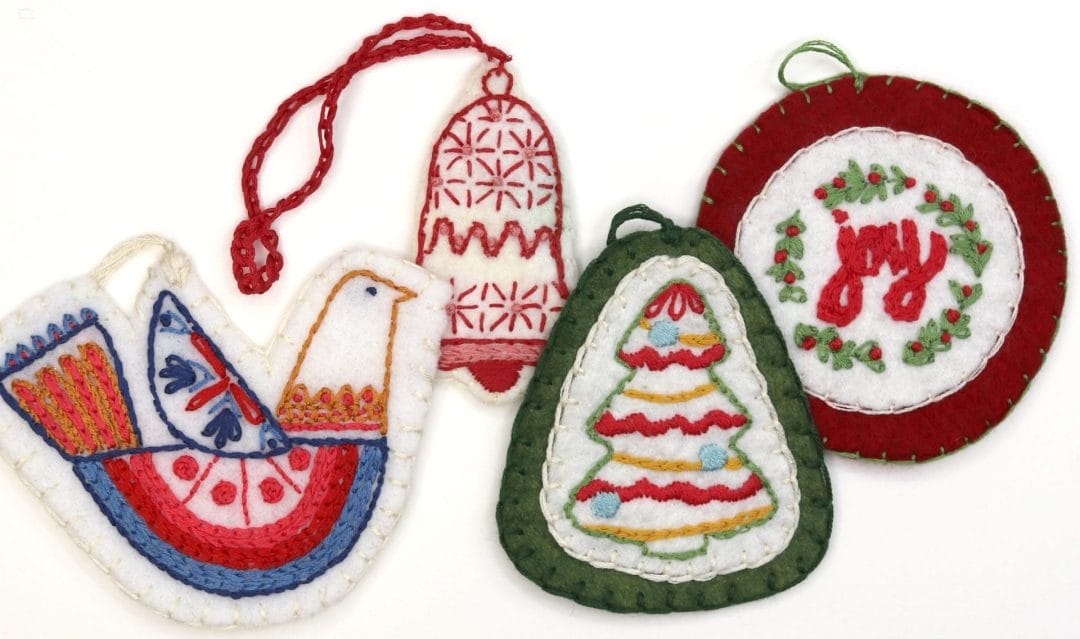
Choose a pattern for your ornaments.
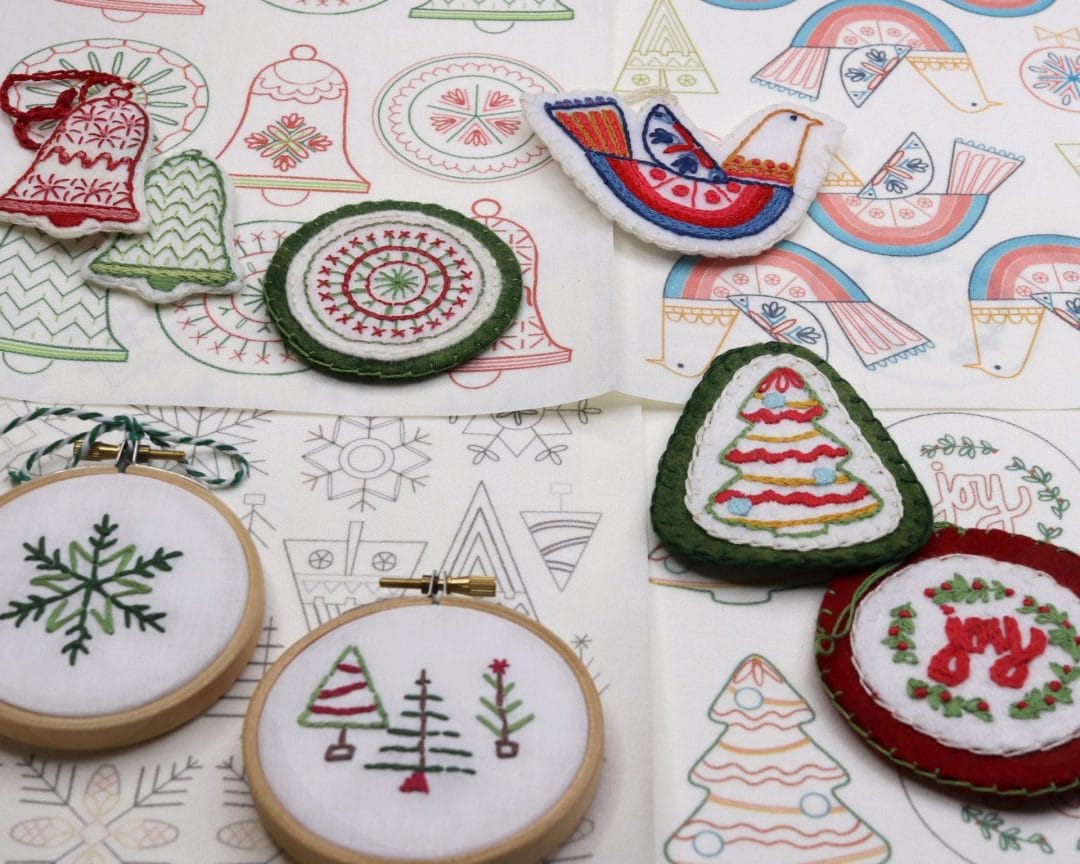
Shown above clockwise are Bells & Balls, Folk Art Birds, Joy, and Flakes & Firs.
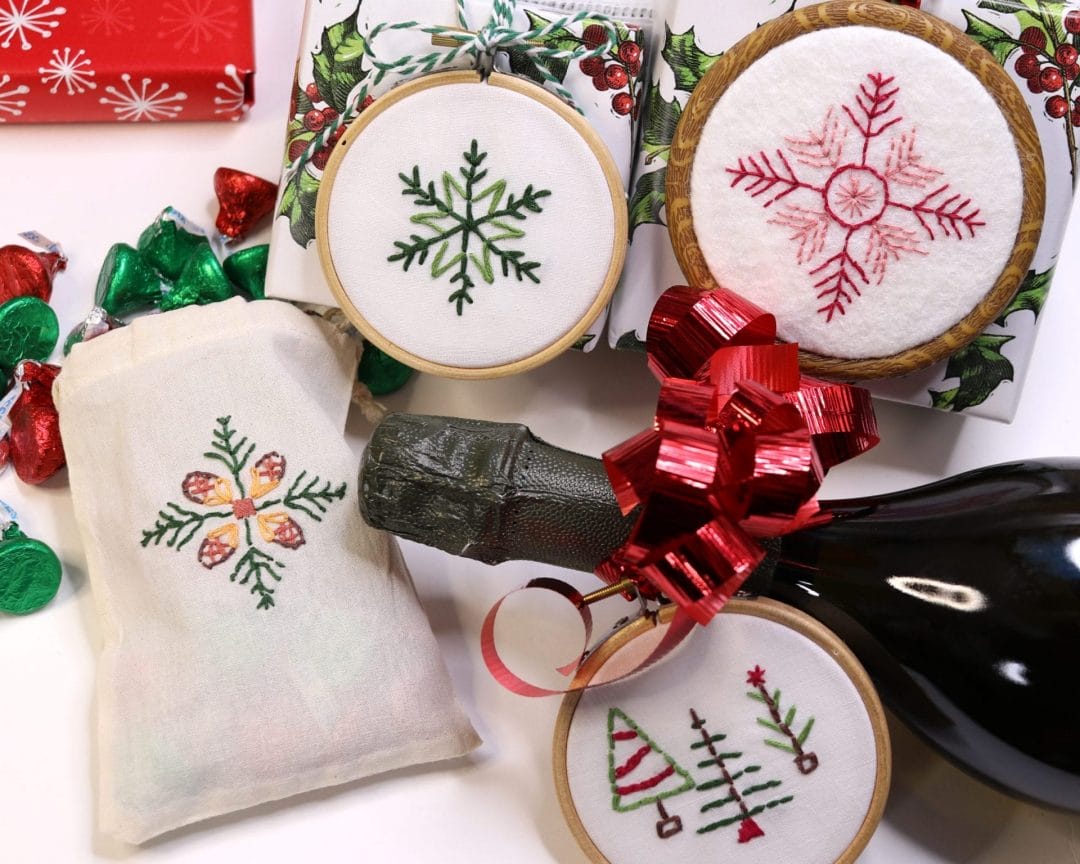
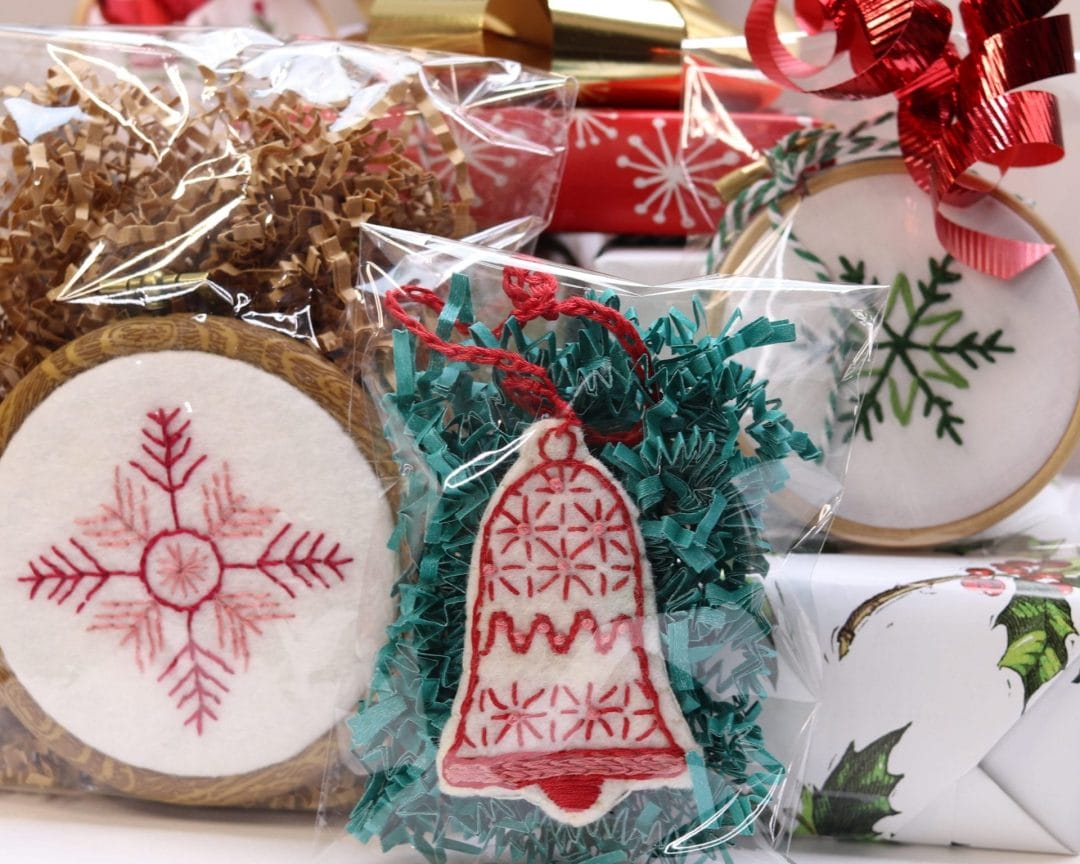
The pattern you choose could be as simple and small as those in our Flakes and Firs pack featuring snowflakes and pine trees.
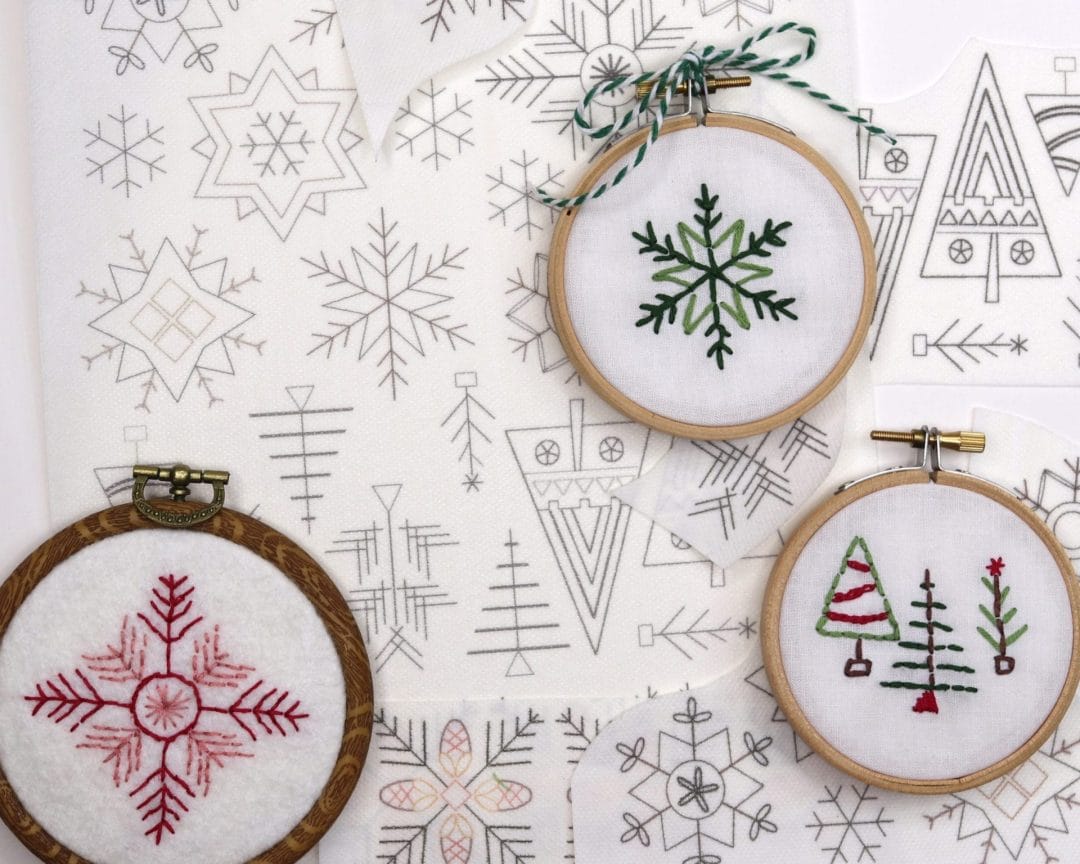
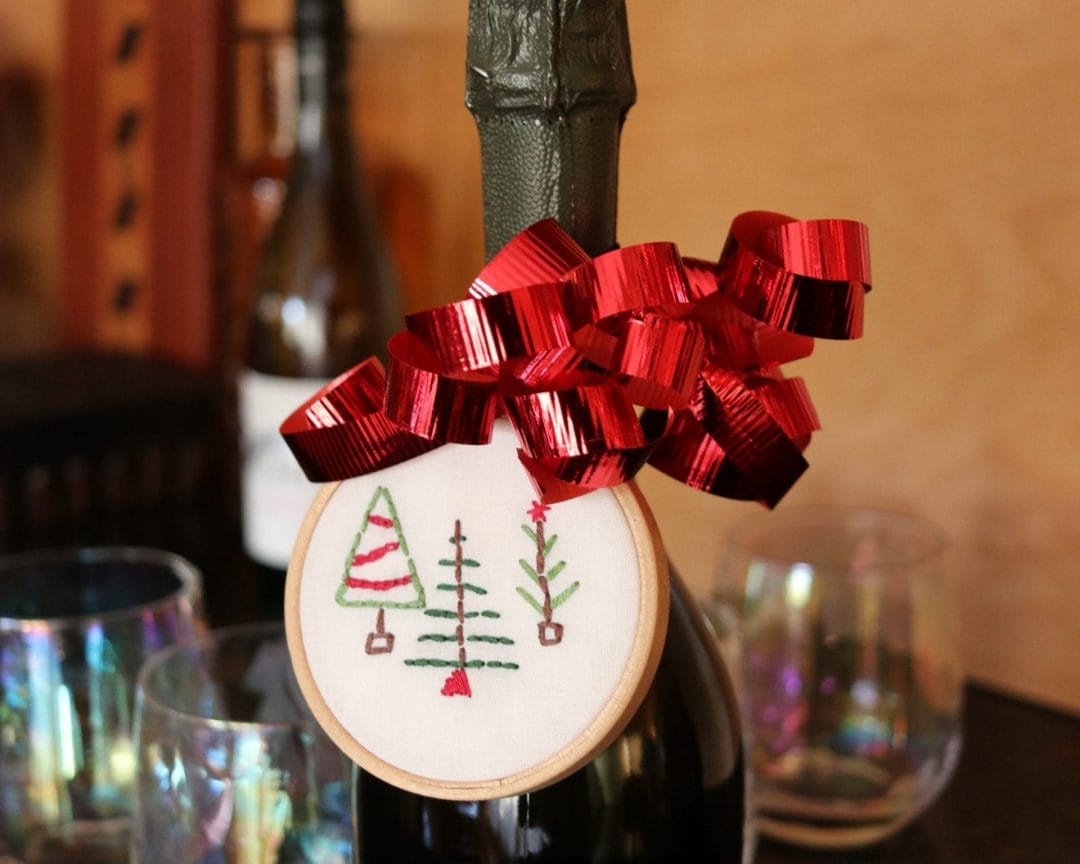
These are great for displaying in small hoops and are easy to tie onto gifts.
For more detailed pieces, try our Joy or Bells and Balls patterns.

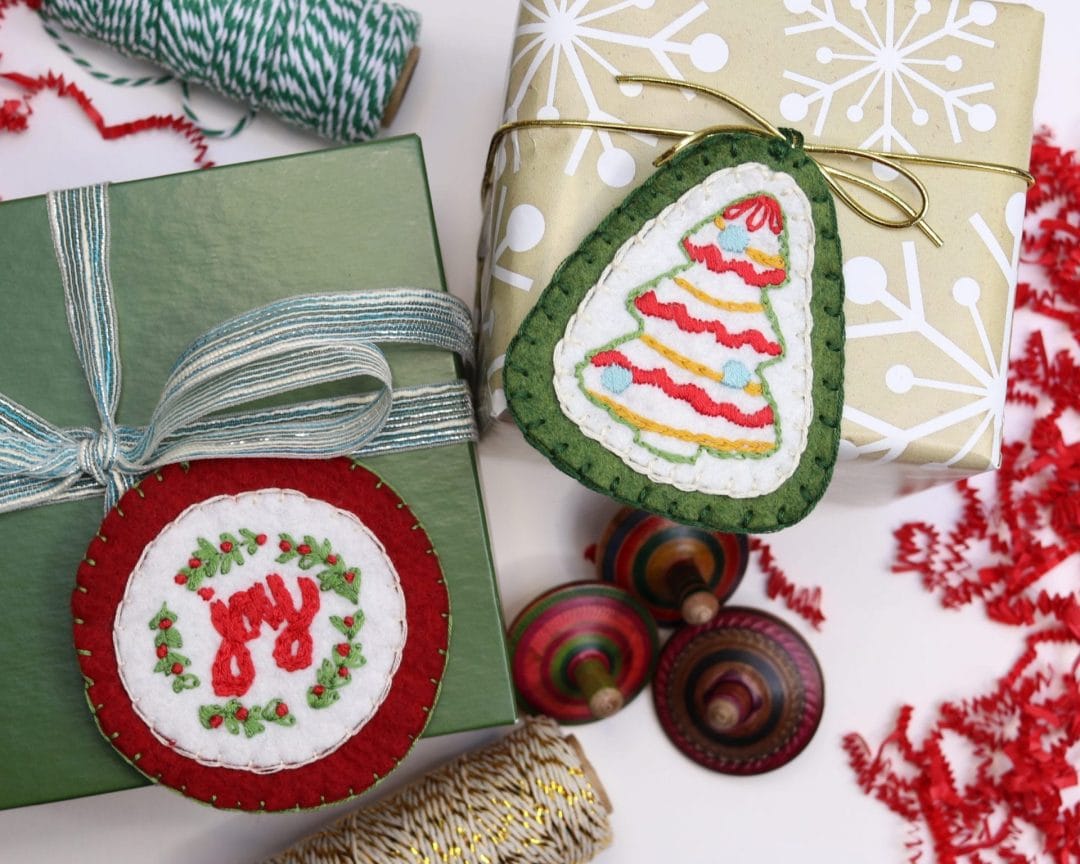
These are pieces that can be layered with felt and gifted or displayed without a hoop
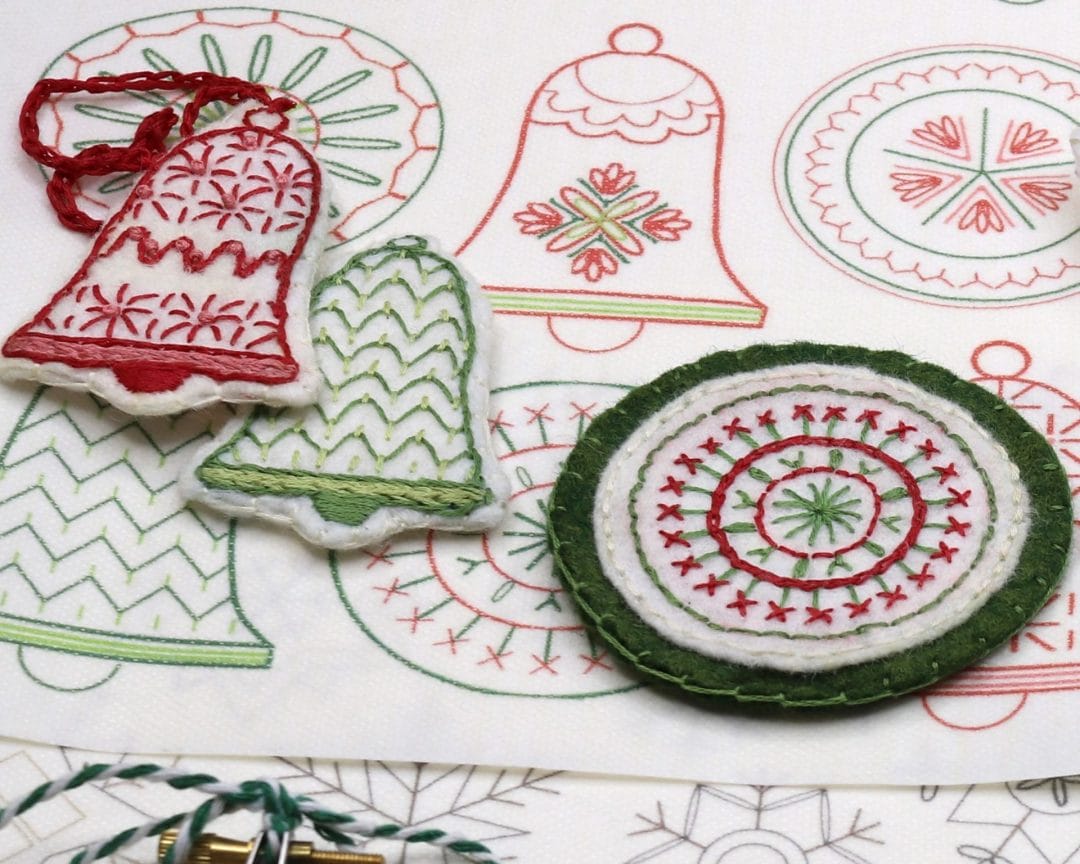

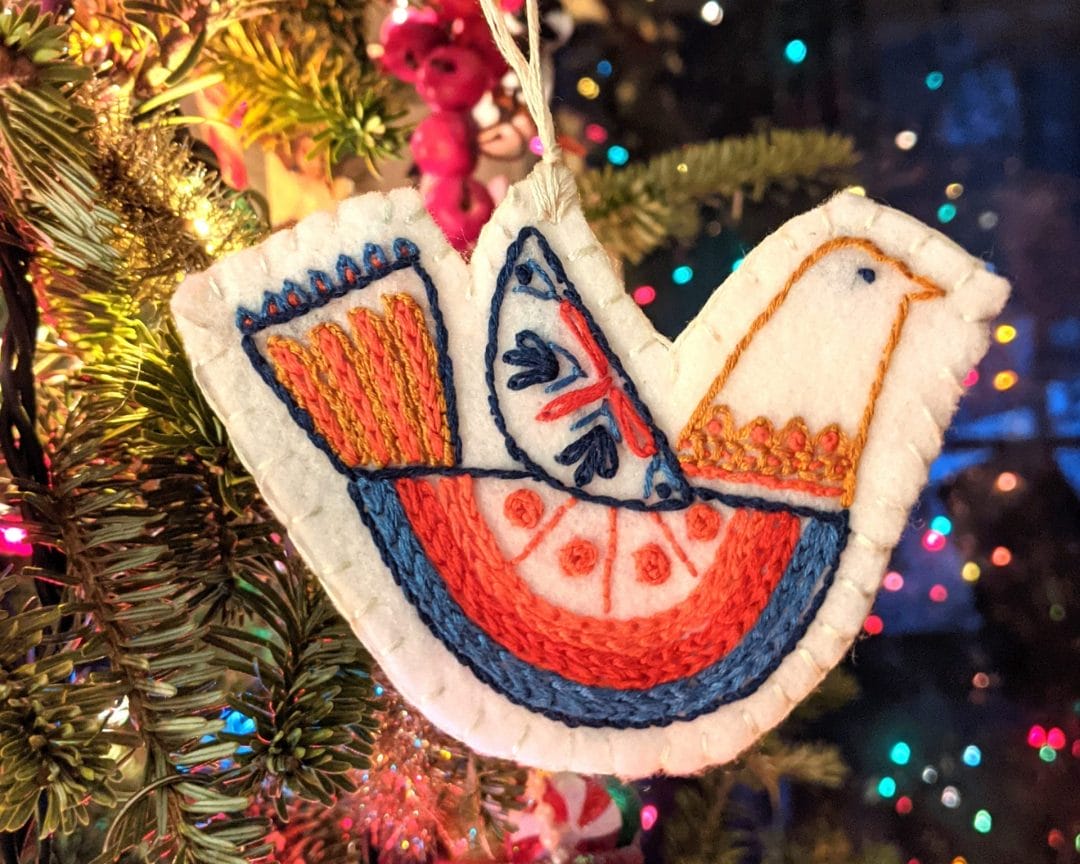
The Folk-Art Birds look fabulous on the tree.


1. Choose a motif from your Stick & Stitch pattern set and cut it out. Peel the backing and stick it to your fabric (preferably stretched in a working hoop).
2. Embroider the design.
3. (not shown in image) Soak finished piece in warm water and gently rub temporary pattern fabric away.
4. If desired, layer your stitched piece onto other pieces of felt.
5. Finish the back.
You should add at least one layer of felt to the back of your ornament to cover the back of your stitching.
Before that, though, decide:
::> Will you finish with the original shape and a same-color back as shown below with the bird and bell?
-OR-
::> Will you layer more felt layers in other colors as shown below with the tree and wreath ornaments?
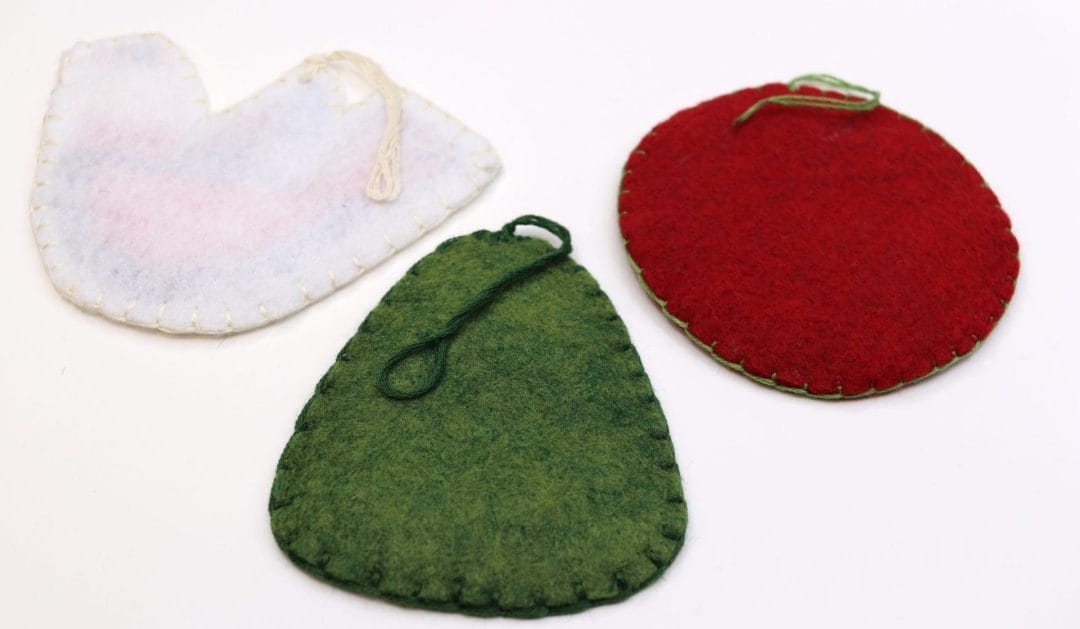
Here’s a look at the backs of felt ornaments.
See the use of blanket stitch and floss color that either matches the felt OR contrasts with it to secure the back layer.
Add a hanger with floss.
You can finish designs on felt or on quilting cotton in small hoops. See three of these hooped-up ornaments in the photo below.
The pieces on quilting cotton will need pressing. Allow to dry after washing pattern away. Press on a damp fluffy towel with front of embroidery down. Stretch tightly in your hoop.
Next, put 2 or 3 rounds of white felt behind your work and inside of the hoop back. Stitch around the excess fabric, gathering it into the center. (See in photo below.)
Stitch a round of felt to the back to cover the gathered fabric.
With your ornaments complete, enjoy gifting them, using them to decorate packages and hanging them on your own tree.
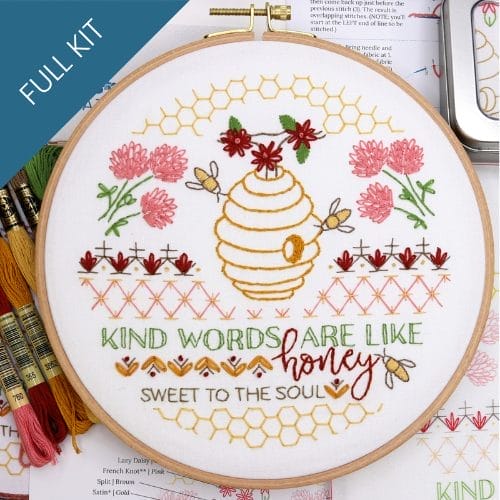
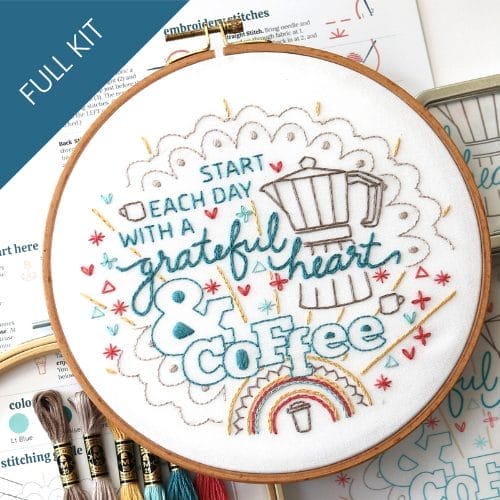
Embroidery that celebrates homey comforts...
Morning coffee, kind words, or slow napping afternoons, take your pick. These best-selling favorites are perfect for a kitchen nook, a thoughtful gift, and cozy handmade touches.