
University of New Hampshire business student Hannah Donahue is brand new to embroidery and sharing five key tips a new stitcher needs as they work their first sampler.
When I got my first Stitched Stories embroidery kit, I was ready to enter into the world of embroidery. I peeled open the kit envelope, found the little tin full of floss and needles and was ready to dive right in.
The booklet with the kit includes a super helpful “Start Here” section–as well as a guide to the pattern for new stitchers. I soon learned, though, that I’d also need patience and practice.
Here are 6 tips I discovered along the way that should help you with your first sewing endeavors.

1. Prepping your thread and needle for embroidery work is different from threading a sewing needle.
While this may be common knowledge for some of you, it was not for me.
When I thread a sewing needle, I bring the needle halfway down the piece of thread and then tie the two ends together.
Not so for embroidery. Instead, you’ll thread your needle and then knot just ONE END of the thread. The unknotted end is the thread “tail.” You’ll shorten the tail as you go–making sure not to get it caught behind the fabric so that you’re all of a sudden stitching with a double thickness.

2. Work with just two strands of thread.
Thankfully this is described in the “Start Here” section of the design guide that comes with all Stitched Stories embroidery kits. The kits come with full skeins of DMC 6-strand floss. You’ll cut a piece (don’t go longer than 18″) and then separate two strands to work with. If you work with the full six strands, your stitching will be too think.
With other projects you might use 3 or 4 or even 6 strands. The Stitched Stories kits, though, are designed for 2 strands unless otherwise noted.

3. Be patient, there’s no need to overthink! Practice makes perfect.
I would definitely call myself an overthinker, and embroidery was no exception. I wanted every stitch to be perfect and got frustrated if it took me a while to do this–even though I was learning stitches for the first time.
I was so eager to get the stitches right that I became impatient and stressed, instead of enjoying all that embroidery has to offer in terms of being an outlet for creativity and being a way to de-stress.
Give yourself permission to take it as it comes. If you feel yourself overthinking or getting frustrated, remember that this doesn’t have to be done quickly. Remember that not every stitch has to be perfect. When you look back at your first piece that you embroidered years from now and see it in its beautifully messy glory, it’ll be a reminder of how far you’ve come.

4. Make sure to pull your floss all the way through the fabric when stitching – be mindful of every stitch!
I’ll admit, this was an error I made more than once–because I didn’t realize I was doing it until it was already too late. I was moving right along, making stitches without ensuring I’d actually pulled the thread all the way up through the fabric. Sometimes the thread can become a little tangled below the hoop and keep it from running smoothly through.
Once you understand to check this, it becomes a part of the rhythm of stitching. If you notice that the loose piece of your thread (that “tail” I described above) is becoming frayed, trim it. Those frayed ends can contribute to tangling.
5. Finish off a thread with weaving–not knotting
I always assumed that the way to finish a stitch was to knot the floss as close to the backside of the fabric as I could, but boy was I wrong!
To finish off your stitch, turn to the back of your hoop and run your needle with the little bit of thread that’s left into the stitches on the backside of the fabric.
This is the kind of tip that’s explained in the “Start Here” section of any Stitched Stories kit’s design guide.

6. Make sure you’re in an environment that feels comfortable
I’ve learned that my favorite place to stitch is in my room a few hours before I go to bed while listening to music. It’s been the most comfortable place for me to relax while stitching and makes me feel like I am doing my mind a favor by taking time for me and completing an activity that can be calming, yet stimulating for the mind. I’ll turn on my favorite album that I’m listening to at the time and organize everything I need to stitch.
Ready to get started with am embroidery kit well suited to a beginner?
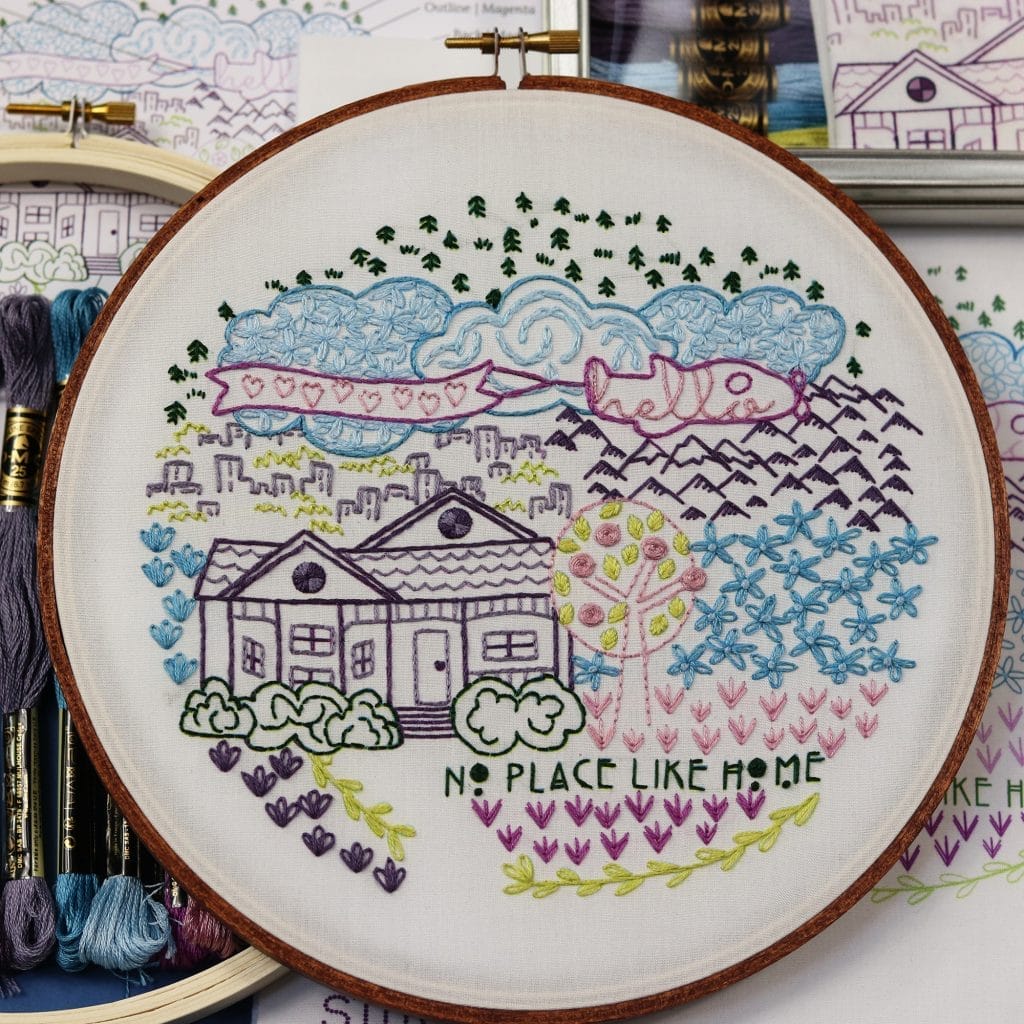
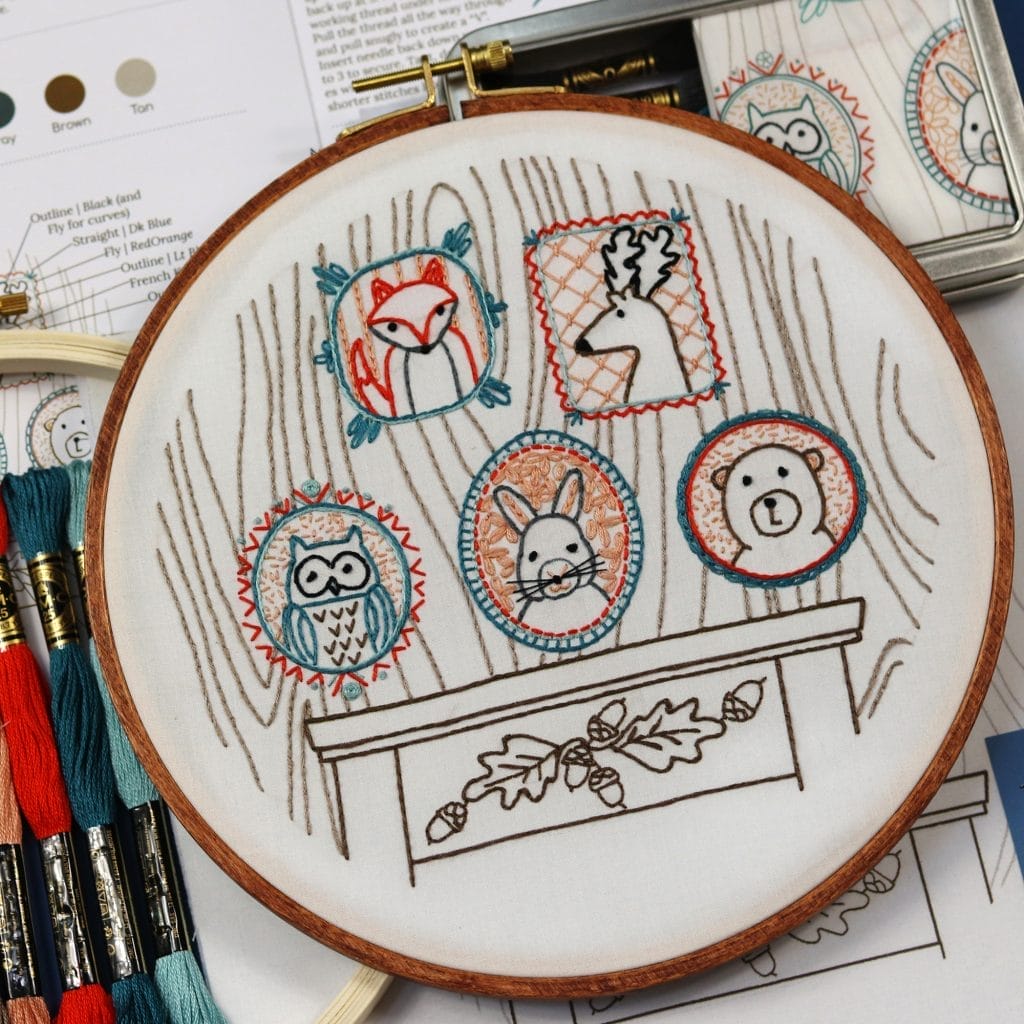
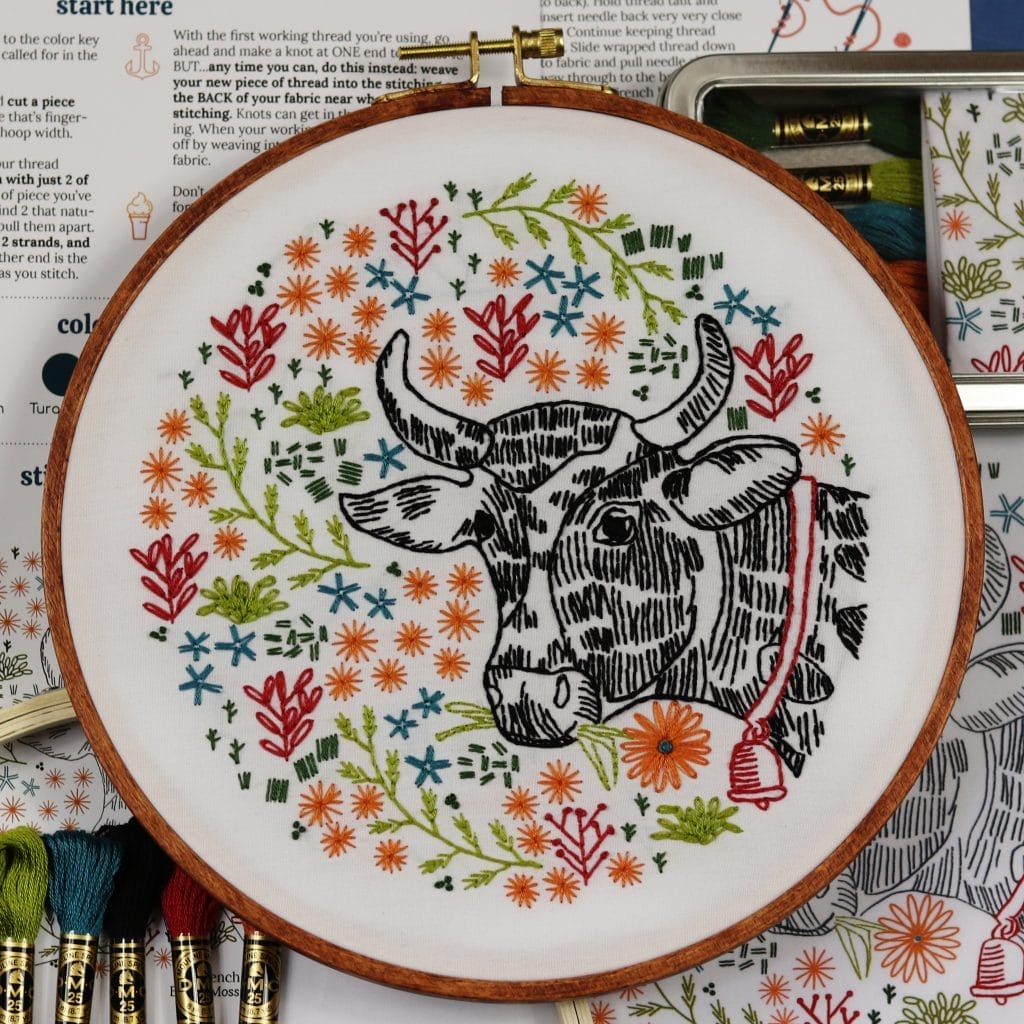
Any of the kits in our shop include detailed stitching guides including a “new stitchers, start here” section. These three are my favorite recommendations for a beginning embroiderer.