
If you’re loving stitching on summer days–whether at home or in the back seat of a car–you’ve probably got several approaches that you know get best results.
Here are four of my top tips for making embroidery projects that you love.
1. FILL BEFORE YOU OUTLINE
With elements that are both filled and outlined, fill first, then outline.
A variety of mountain fills are used on Mountain Time: grids, zigzags, lines and Satin stitched.
Embroider those fills before you outline the mountain shapes. That way your outline never gets snagged or overlapped by the fill stitching.

The same thing goes for the variety of teacup fills on Tea Party. Get all those detailed stitched before outlining the teacups.

An exception would be when you want the fill to “spill” out of its container.
See the gold French Knots on the thorax of the green Moth.
They are meant to feel fuzzy and expansive so were stitched after the outline (which was stitched after the Satin stitch fill).

2. WITH OVERLAPS, PLAN AHEAD
With elements that have overlapping pieces, think about the order ahead of time.
With the lupins on Small Birds, the petals are stitched from the top down so that, just like in nature, the lower petals overlap the upper petals.

On Tree of Life, the tree is a great first element to get stitched. Then the stitching for birds and circles is always stitched on top of it.

For the layered circles on Tree of Life, order matters, too.
In the stitching guide, I walk you through what’s best. For example one of them has a turquoise bottom grid, with dark green diagonals stitched over it, and then small light green anchor stitches holding it all in place.
3. CHOOSE THE SHORTEST POSSIBlE DIAGONAL FOR SATIN STITCHING LARGE SHAPES
The large continent on the globe in School Days is filled with Sating Stitching on a diagonal.

A horizontal or vertical line would be hard to get precise. The eye might see it as almost straight.
With a diagonal, though, you’re choosing the angle. What to look for is this: how can the longest stitch be as short as possible. See here the angle I went with goes from bottom left to upper right.
If I reversed that and went from top left to bottom right within this particular shape, I’d have longer lines–and they are just harder to have look tidy and stay taut.

Within Jacobean there are many repetitions of the same blossoms filled with Satin stitching. To help you choose a line on this one, I’ve actually {lightly} printed suggested fill line angles on the fabric pattern.
4. LEVERAGE TENSION
Lazy Daisy, French Knot and Fly Stitch are all stitches you can use to different effect with some variation in tension.
Here on Grow, the sunflower petals are shown stitched with tight and precise Lazy Daisy stitches. The purple lupin petals have much looser Lazy Daisies.

See this also with French Knots. In the little garden scene just above the sunflowers, there are tight purple French knots. BUT, in the center of the Sunflowers are loose and bulky French Knots.
See how to use the Fly stitch in varying tensions on Harvest Table.

The circle of “Y” shapes around the turkey body are done with very tight Fly stitches (and a long anchor stitch).
The long “U” shapes on the turkey neck are done with slightly looser Fly stitches (and a short anchor stitch).
The scallops inside each feather are done with looser Fly stitches.
Keep on stitching…
Embroidery is easy to get started with–and fun to perfect. Here’s to your own summer days holding time for stitching.
Keep your project bag full and ready to go when you’ve got it packed with engaging projects. Click here to choose your next project.
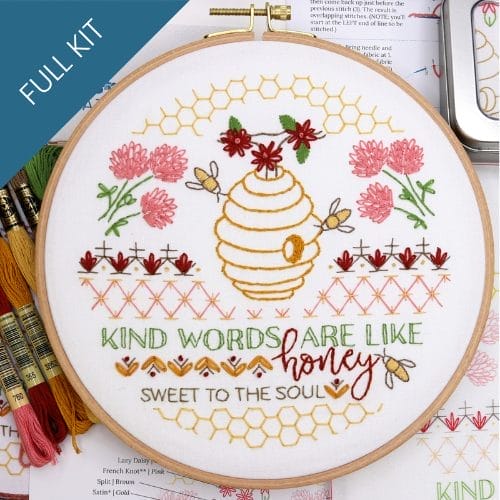
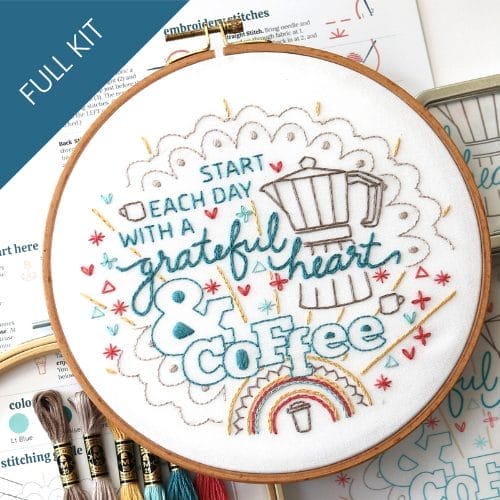
Embroidery that celebrates homey comforts...
Morning coffee, kind words, or slow napping afternoons, take your pick. These best-selling favorites are perfect for a kitchen nook, a thoughtful gift, and cozy handmade touches.